August 28, 2014

Honey Beer Bread.....you will never need another recipe.

Edited:  When you link to the recipe it states the amount of beer is 12 ounces.  Hope that helps. 

Sharing recipes is a wonderful thing, isn't it?  I love it when I go to a community gathering or family event and someone brings a delicious new recipe.  Most times, the cook is willing to share the recipe and I go home with a new recipe for my files.  I feel that Pinterest is wonderful way to share recipes too.  I've gotten so many good, good recipes from there.  I always feel inclined to share my favorites.  

For years I searched for the perfect beer bread recipe. I remember going to those Tastefully Simple parties and always thinking that those boxed beer breads they used for sampling the dips were the best. But they were pricey and as someone who likes to make recipes from scratch I didn't want to keep buying the boxed mixes.  My searches always came up empty and believe me I've tried lots of beer bread recipes that failed.  I think I would have just been better off drinking the beer and calling it good.  

But fast forward to today and I have the perfect beer bread recipe.  Seriously, this is good stuff. The recipe is in my Recipes Bread Pinterest board and here is the link to the Honey Beer Bread recipe
 When we have friends over it seems they leave their beer in our garage refrigerator.  Since we are pretty much social drinkers those leftover cans might sit for months.  I usually use up some of the can by making a double batch of the Honey Beer Bread.  I always snicker when I crack open a beer, or two,  at noon. The husband comes home from work and sees empty beer can scattered about and sometimes wonders.....
 Here is the Honey Beer Bread that I made yesterday.  Can yo see how moist it is?  Other beer breads that I tried were dry and crumbly and just tasted like yeast.  These loaves are soft and moist and the honey gives them a slightly sweet taste along with the yeast from the beer.  Yeast....or whatever it's called.
 The top and bottom crusts, just look at how golden they are.  I use a full stick of melted butter for each recipe.  I pour half in the bottom of a sprayed bread pan and then pour half on top.  Fresh from the oven the loaves are slightly crunchy with a buttery flavor.  THE best part.
 For this loaf I added in candied jalapenos (recipes can easily be found on Pinterest) and a sharp cheddar cheese.
 For this loaf I added some fresh dill from my garden and some sharp cheddar cheese.
 Cheese and other additions add so much flavor to the beer bread.
 The possibilities are endless for the additions.  You could also do a bacon/cheddar combo, any herb you like or anything you can think of as long as it will hold up well in the bread.
Of course the plain version is pretty darn good too.  All you really need is REAL butter to top the slices off.  The loaves hold up well and last for days.  I always like to make a double batch, in two separate bowls, and give one as a gift.  Good stuff right here, folks.  Hope you give it a try.

August 27, 2014

Tray displays....some fun styling ideas

I've recently been listing some trays in my shop.  Today I thought it would be fun to share a few ideas on how you can use your trays to display your goodies.  

Here I've gathered some some office supply/crafty items & I've nestled them all on this scalloped rectangle tray.  Have a little tray on your work table or desk is a creative way to display your favorite or most used items. This vintage stapler is now in my shop also right here
If you're looking to do a little Fall crafting, trays are a great way to create little mini kits of your favorite crafting items.
These aluminum trays go great with anything tin or galvanized.  Here I used a small jello mold to hold some pretty paper flowers.
These decal trays are a favorite of mine.  There's a set of three in the shop now (x 2) and I love them in my craft room or in my kitchen area.  Here I've displayed a little office setting with a stapler, post it notes, some shipping tags and pens in an old glass frog.
You can switch things up for any holiday by using the trays as serving trays for drinks.  Here I've set 4 ironstone  mugs on a tray with some vintage spoons.  Instant hot cocoa tray that can be carried anywhere you choose.
This round scalloped tray is perfect for setting up a shipping station.  Nestle in a few tags, twine, paper clips and some pretty flowers and you've got a fun way to create some tags.
You can leave things a little messy too because the trays still contain everything in one tidy place.
Mason jars always find their way onto my trays.  Here I've used 4 blue mason jars, perfect for serving lemonade out on the porch.  Pair these with a simple vintage tea towel and you instantly create a homespun mood.
If you've got a favorite tray, feel free to link me up in the comments...or if you're on Instagram use #traytuesday or link me up at mishwooderson.  Be on the look out for more fun trays to be in my shop soon.  Thanks for stopping by!

August 26, 2014

Tray Tuesday....Strawberry Jam

Hey everyone. Welcome back to Tray Tuesday.  It's a new series here on the blog where I show you what I have my tray.  I use trays for everything & have quite the little collection going so here goes.  Today I've got homemade Strawberry Jam on a cute red, vintage tray.  
I've been canning so much this Summer that I haven't had time to make room on my shelves for more canned goods.  Until then I have jars of sweet goodness sitting around on my dining room table and everywhere.
I can't seem to grow strawberries very well where I live so I always buy them from the store when they're nice and ripe.
There's nothing like having a jar of fresh jam, bursting with ripened fruit flavor and homemade goodness.
The jars are so pretty too.  If these make it til Christmas, I think they'd make very cute gifts for neighbors and friends.  Maybe include a loaf of freshly baked bread or some scones.
Full of juicy strawberry flavor, this photo just makes my mouth water.
For all of my simple fruit jams and jellies, I typically use the recipes included in the fruit pectin boxes.  They are tested and never seem to fail me.  Here's the recipe I used for my Strawberry Jam today.  This is a canned jam using the water bath method of preservation. Enjoy!

I'd love to hear what's on your tray today.  Feel free to leave a link or comment in the comments section below.  If you follow along on Instagram (mishwooderson), feel free to use the hashtag #traytuesday to show me what's on your tray.

I've recently listed some vintage trays in my shop.  Here's just a few samples.....

These black trays are quite striking.  A little worn and chippy but would be so cute with mason jars lined up or filled with craft supplies
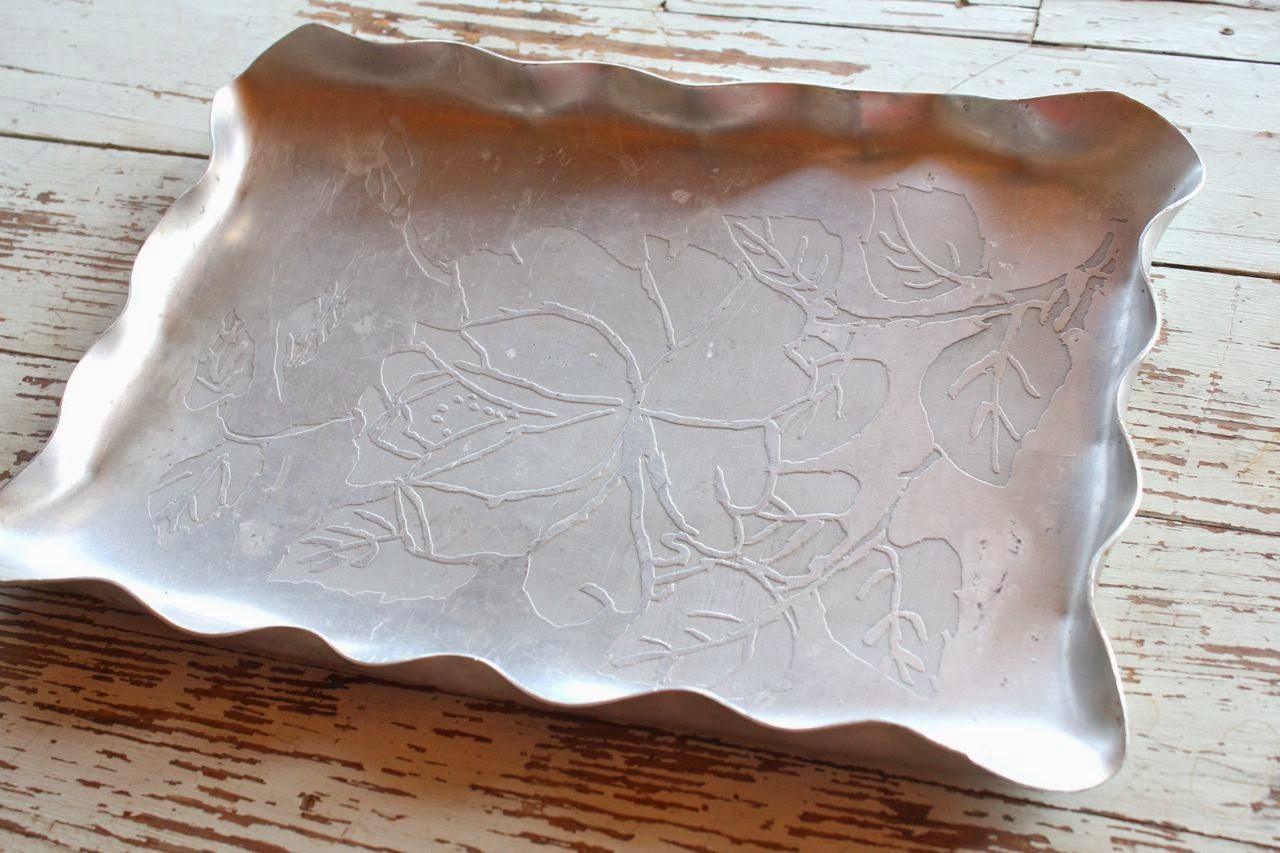
Aluminum trays are understated but go with about everything.  I like to place little jello molds on these to hold small bits and pieces of paper kits.
Round trays are always fun to use to serve drinks in mason jars or just grab a tray while you're working on a craft project.  Place a vintage napkin on top and pile high with homemade muffins or cookies.
Thanks for stopping by today.  Have a great day!

August 22, 2014

Shop update....new vintage finds

Just added some new vintage items to the shop + I gave a new look to the storefront.  You can find the shop link here.  

Enamel trays just like the ones I use....perfect for creating watercolor palettes. Plus a cup for water.
 A fun colander bowl...
 Old staplers.....

 Pretty tapestries.....

 If you've enjoyed my Tray Tuesday post, you might want to join in yourself.  Lots of fun trays.....


Thanks for stopping by.  Have a great weekend everyone!

August 20, 2014

Project Life 2014.....Week 20

Today I'm sharing Week 20 of my Project Life 2014.  I'm behind in sharing and way behind on my weeks but that's okay.  The kids are back in school and I plan to whittle away at those photos day by day.  Still loving the process, still loving looking back at these albums.  

So here's the full, 2 page spread.  I kept it very simple this week and continue to do so to catch up a little. 
 These pages use the August kits from Gossamer Blue.
 My mom had a knee replacement to start the Summer off so it was a busy 6-8 weeks getting her on her feet again.  I finished my quilt top too.  Now I just need to finish the binding.  All those pretty plants are drying up now.  Funny how time passes so quickly.
 Love these little sticky notes to pieces.  I typed, stapled, stamped, stitched and stickered all over this one.
 Signs of Spring and Summer....new baby kittens and my first Iris.
 Embracing every new "today".
Hope you're still trucking along with your Project Life.  Feel free to share your progress in the comments section.

August 19, 2014

Introducing Tray Tuesday...when 2 kits collide

Hey there, today I'm introducing a new little series here on the blog that should be fun.  It's called Tray Tuesday and it's all about what's on my tray.  I've developed quite a fondness for vintage trays of all kinds.  Whether they're metal with decals, wood, silver, hammered aluminum, tv trays, etc.....I love 'em.  I always spy them when I'm out thrifting and it seems they like to come home with me.  

So what is Tray Tuesday?  If I've got something in the works and it's on a tray, I'll post it on a Tuesday.   Simple as that.  It might be a paper project or it could be a batch of fresh strawberry jam right out of the cooker....or a batch of freshly baked cookies....garden fresh goodies.....a stack of stationery with pens and stamps that I'm getting ready to mail out.....it should be fun to see what ends up on a tray.  

If you follow me on Instagram, I'll be using the hashtag #traytuesday if you want to join in and post any photos.  I'd love to see what's on your tray.  
 Today I have two pretty trays with two kits from the upcoming September Gossamer Blue release.  I'll be doing a series of posts in September showing how these two kits collide to create some pretty paper projects.
 You'll be to see how easily the Gossamer Blue kits coordinate with each other in a beautiful mixy matchy way.
Hope you'll join me for Tray Tuesday....and be looking for more posts soon.  The girls will be back in school soon and I've got lots to share.

August 13, 2014

Sweet & Sour Pickled Peppers and Onions

Back to share my favorite new canning recipe that I discovered this Summer.  May I introduce to you Sweet & Sour Pickled Peppers and Onions.  This makes a beautiful canned presentation and it's so delicious too.  I'll definitely be making this every year now come garden season. 
If there's a few things I can grow well in my garden it's peppers, onions and jalapenos.  The colored peppers....I still have to buy those as I haven't found good varieties for these yet.  The color is very important if you care about presentation and how pretty your jars look on the shelf.  
 This recipe comes from the Better Homes and Gardens Special Interest magazine called Canning (preserving + freezing + drying).  I found my copy at Walmart and just saw them on the shelves still today while grocery shopping.  I'll share my adapted recipe at the end of the post.
The recipe calls for red, green, yellow and/or orange sweet peppers.  I also threw in a few jalapenos and some pepperoncini peppers because they were plentiful in the garden.  The colorful mix is really the key to this recipe.
I followed the recipe almost exactly as called for otherwise.  I stuffed all the peppers and onions into the jars, leaving the appropriate head space.  
You can see how beautiful the jars look already.  I like to overstuff my jars a bit because when you add the hot liquid the peppers will shrink down a little.  Otherwise when the jars are cooled the veggies float to the top and there's a lot of liquid at the bottom of the jar with no veggies. 
Here's the jars filled with the vinegar liquid mixture.  I love seeing the seeds and peppercorns in this mix.  It looks so fancy.  You can see here that I put a few jalapeno slices on the tops of these jars.  
 Here's the jars straight out of the canning pot.  So bright and crisp looking.
 Alas, that color doesn't last but the jars are still beautiful and filled with colorful veggies.
I know we will go through these like crazy so I've already made a second batch. I'll see what comes from the garden yet and may make a third batch.  These would make great Christmas gifts or be perfect to take to tailgate parties, etc.  
For some recipe ideas, so far we've tried the pickled mixture on pulled pork with coleslaw and BBQ sauce. The veggies stayed crunchy and the vinegar gave a little zip to the sandwiches. 
 Simple hotdogs take on a whole new meaning now.  My husband gave this a two thumps up so it's definitely a keeper recipe.

Here's the recipe that you can copy and paste into a word document if you want to print:

Sweet & Sour Pickled Sweet Peppers and Onions

from Better Homes and Gardens Special Interest Canning (preserving + freezing + drying) ...adapted by Michelle Wooderson

3 pounds red, green, yellow and/or orange sweet peppers, sliced into bite size strips ( I add jalapeno and pepperoncini too)
2 large onions, halved and thinly sliced (can add more if you like more onion)
4 cups sugar
4 cups water
3 cups white vinegar
2 cups cider vinegar
1 tablespoon celery seeds
1 tablespoon whole black peppercorns
1 teaspoon mustard seeds
4 cloves garlic, smashed
4 bay leaves
2 teaspoons Kosher salt

Combine pepper strips and onions in large bowl.  Set aside. In cooking pot combine all other ingredients.  Bring to boiling, stirring to dissolve sugar and salt.  Reduce heat to low.  Simmer, covered, for 15 minutes.  Discard garlic (I left mine in) and bay leaves.  Pack pepper-onion mixture into hot sterilized pint canning jars, leaving 1/2 inch head space. Pour hot vinegar mixture into jars, maintaining the 1/2 inch head space.  Discard any remaining vinegar mixture.  Wipe jar rims; adjust lids and screw bands.  Process filled jars in a boiling water canner for 10 minutes (start timing when water returns to boiling).  Remove jars from canner.  Cool on wire racks.  Wait for the "ping" sound of sealed jars. Rejoice.  Enjoy.  Makes 7 pints. 

Recipe ideas:  Use as topping for hotdogs, chili dogs, hamburgers, pulled pork sandwiches, sloppy joes, roast beef or salads.  Chop and add to meatloaf, hamburgers or potato salads.  


Related Posts with Thumbnails