February 26, 2014

Workspace Wednesday...journaling card storage for Project Life

Welcome back to Workspace Wednesday.  It's a day that I share something from my work room with you.  I recently purged and organized all of my 3 x 4 and 4 x 6 journaling cards for Project Life so I thought I'd share my storage system.  
This little area in my work room is where all the Project Life stuff happens.  Today I'm going to focus on the left area. 
This area is directly behind my work table where I stand.  These units all sit on top of an old table that I got at an old school auction made by the local Grangers.  
The organization that works best for me is having all of my supplies out in the open so that I can see them, rifle and dig through them and remember what I have.  For my Project Life cards, I store them standing upright in a vintage, wooden utensil drawer.  I use Large Manila Parcel Tags for dividers which have the manufacturer typed on the upper corner.  I keep my journaling cards sorted by manufacturer since the styles of the cards remain somewhat similar for each.  My rule for my Project Life cards is that I can only keep what fits in this unit.  If I find that the cards get too snug, it's time to sort through the cards and purge.  

The brands of cards that I use most are: Gossamer Blue (from kits and the blank journaling cards available at the Gossamer Blue store), Evalicious, Banana Fish Studio, Elle's Studio, Ali Words for Technique Tuesday, Studio Calico and some of my own handmade cards.  
 I took out my Gossamer Blue stamps that are stored in this empty space below so that you can idea of what wooden utensil drawers look like.  Usually there are 4 divided areas.  I find these old pieces so endearing...always wondering who used them, what that kitchen looked like, what the silverware looked like.  I'm nostalgic that way and these fine, hand crafted works of art always make it home with me.  Many are crafted with dove tail joints and great craftsmanship.  Usually they are painted and have a chippy appearance due to wear and age.  I am finding that the prices for these are sky rocketing so if you find one in good shape for under $20,  you're doing good.  If I remember, I'll snap some photos of my other utensil drawers and share here on the blog.
 For my Project Life brand journaling cards, I have sorted and purged and have a nice sized stash still available.  These all reside in some old wooden drawers that I've collected along the way. I still use these from time to time and have also found other uses for them...like for card fronts, attaching to packages as thank you notes, making little lists, etc.
 The three wooden units sit on top of this industrial looking file drawer.  I keep ink pads in the two drawers right now but am in the process of rearranging all of my inks....purging ones that I don't like, making room for the new ones, labeling, etc.  I'd like all of my inks to be grouped together so these drawers will most likely be repurposed for something else and the inks will find a new home.

February 25, 2014

Gossamer Blue March Project Sneak Peeks...

It's almost time for the March release at Gossamer Blue.  This month is filled with colorful and fresh new product..just what I'm needing about this time of year when it's gloomy outside and I'm longing for  Spring.  I shared some of my favorite products from each kit over in the GB forums earlier and today I'm sharing some peeks at some of my finished projects I created with the kits. 

Starting with Project Life/Life Pages, loved using lots of bits and pieces to create a main, dated insert for my Week 7. Small manila tag is from my shop.  The little circle stamp highlighting the dates is a letter "o" from a small, wood Hero Arts alphabet set. 
I used stamps from the kits to stamp right onto my photo.  One of my favorite products for Project Life is little sticky notes.  There's a fun set in the kits this month. 
Another example of stamping directly onto the photo.  Lots of foodie stamps this month. 
Lots of fun journaling and filler cards this month.  Here I added two small square photos and some fun embellishments + more stamping. 
Here's a 3 x 4 journaling card with lots of stickers added along with my typewriter journaling.  I made a  tab from two stickers placed back to back and then stapled for a smaller insert. 
I created lots of cards this month too because the embellishments and papers are fabulous.  Here I used a new mini typewriter Instagram that I'll be adding to my shop soon.  I layered my set of cards with ledger paper from my stash, fun patterned papers in greens, a fun new wood product and small embellishments.  Cards with office themed products are always a favorite for me.
Look at these gorgeous papers.  So beautiful when used as collages on cards.  Here I used stamps from the kits for some whimsical cards.
Some fancy little cards with die cut butterflies, layers of office supplies, messy string bundles, stitching and more. I'll be sharing blog posts for each set of cards...this one will include a fun packaging idea using Kraft sacks.
A favorite thing I like to do is take all the little leftover bits and pieces from kits and add them to cards.  This month, I'll show you how I started these cards from scratch. See those scalloped pieces?  Those are die cut from wood.  Better snatch this kit up quickly as it was a favorite for me.
Last but not least, I was inspired by this pink fluffy ribbon in one of the kits.  I used it to create some gift packaging along with a Pink Flower Mini Instagram and lots of bits and pieces from the kits.
Hope you'll join us on March 1st over at Gossamer Blue.  The kits will be for sale and all of the Design Team projects will be in the galleries.  Also, there's a new blog post on the Gossamer Blue blog daily so be sure to stop by for more inspiring Design Team projects.  

February 21, 2014

Project Life 2014....Cover Page & Week 1

Today I'm sharing my 2014 cover page and Week 1 of my Project Life album.  I used Gossamer Blue kits for inserts.  When starting a new album, I like to have a cover page that introduces a new year.  I decided to go with a rainbow theme to start off with a colorful year.  Here you can see a 6 x 12 insert over the scalloped 12 x 12 page.  
I used the Gossamer Blue 2014 insert along with some sequins from my stash and another 4 x 6 insert from Gossamer Blue.
I really like how the sequins provided a transparent view to the rainbow page.
On each of the little quote bubbles I used an October Afternoon phrase stamp from a Gossamer Blue kit and then typed the family member's name and age on a grid card.  I trimmed the pieces and stitched with gold thread.  The #4 veneer represents the number of our family members.
Turning the 6 x 12 cover page, you see the back side and the full rainbow page.  I just trimmed down the 12 x 12 page to fit into a page protector.
I loved this badge on the Happy New Year insert.
Here I stitched on a vellum phrase and added a favorite photo + the fun 2014 wood veneer.
On the large 12 x 12 page I added a Kraft tag to one insert and stitched on a rainbow arrow sticker.  I like to note that I am creating this album and the start date.
Turning the page once more you can see my week one layout.  I used a rainbow theme starting from left to right with the middle row of 3 x 4 journaling cards.  Just something fun and since this was made in advance all I needed to do was add my photos and embellishments + some journaling when I was finished taking photos for Week 1.
I was a little worried that I had too much color going on but once I completed the spread, I loved it.  It's just a colorful layout kicking off the new year with a little fun. 
Here's the left page. 
 The right page.
 Here I used two 3 x 4 journaling cards to fill one 4 x 6 slot.  I love all the fun elements added here.
 For this 3 x 4 insert I used a pocket from a kit and added in two Large Manila Tags with photos.
 Couldn't forget the black eyed peas on New Year's Day.  A family tradition to bring good luck to the new year. I stitched a Medium Manila Tag to the 4 x 6 insert and trimmed.
 This yellow polka dot card was a full 3 x 4 size.  I trimmed down the Kraft card and stitched to the 3 x 4 card then stapled on a die cut.
 Here I used Gossamer Blue stamps directly on the photo + I added journaling to a Grid Paper Label.
 I added stickers and rub ons to this paint swatch journaling card + some stamping.
 Two square photos are on this 4 x 6 card.
 I loved my last few inserts.  I included photos from some crafty sessions + used Grid Paper Labels for typed journaling.  The fun October Afternoon stickers added a whimsical title to the blank banner.
Thanks for stopping by today!

February 19, 2014

Workspace Wednesday.....constantly making exciting discoveries

Welcome back to Workspace Wednesday. I've devoted each Wednesday to discuss something about my workspace.  Today I'm talking about organization..or lack there of in my case most of the time.  I've been around crafting all my life but have been heavily into the scrapbooking and cardmaking world for about 17 years.  I've seen more supplies come and go in and out of my craft room than you can shake a stick at.  I find it fascinating to peek into the lives of others to learn about their organizational solutions. It seems to be just as enjoyable as our paper crafting hobbies.  

I have discovered a few things about my organizing ways.  I find that sometimes specific items are grouped together and I know right where they are.  Other things are stacked in organized piles and sit for months on end.  That's pretty much how I roll with everything in my house....and I don't sweat it. 

Let's discuss a few examples of my organization.  For my Project Life, I clean off my table and have very little visual clutter when I begin a week.  You can see the photos here of that organization. I think it's because I have an actual plan of what I'm working with from the beginning.  I can keep things condensed.  

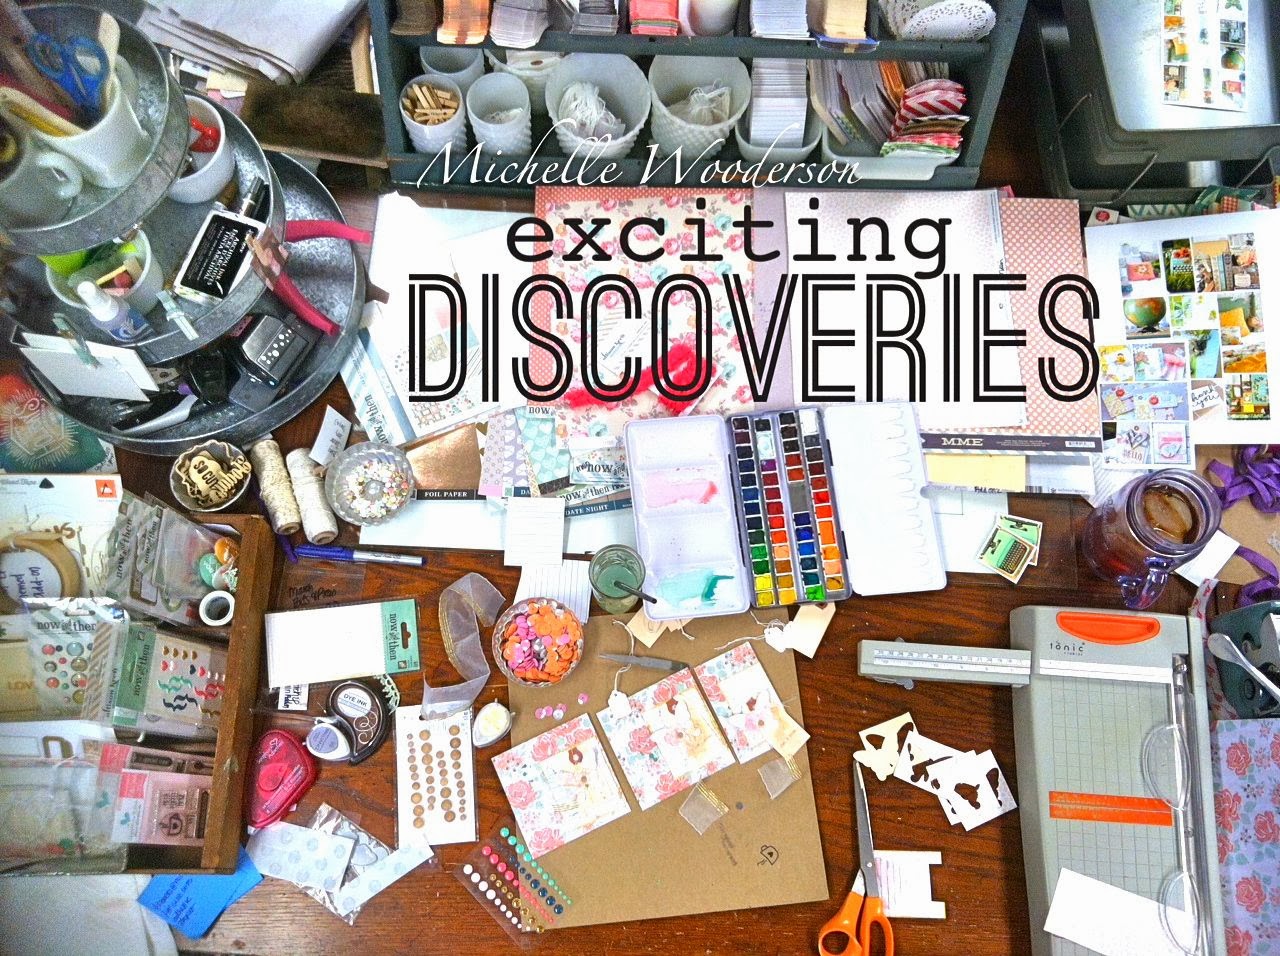
But now let's discuss card making. For this process, I might have a sketch or previous project to refer to sometimes but usually I am craving inspiration.  I need "stuff" around me to inspire me..to get those creative juices flowing.  The photo below is straight from my work table this week.  You're getting a sneak peek at some March Gossamer Blue products at work.  Once I'm done with my assigned projects, everything gets scattered about on my table.  I need to see those pretty patterns and colors.  I love to see all of those embellishments.  Seeing those watercolors out makes me happy. It may look like a big hot mess when you look at the big picture......but then something begins to happen. 
A closer look shows that there is some creativity brewing.  Products are being gathered. Some bits of a project are coming together.  There's a little order amongst all that organized chaos.  
Before you know it, some finished projects are emerging.  The smallest of bits and pieces are finding their way onto what appears to be cards this time around. 
One by one, that's how projects happen for me.  A little something catches my eye.  I find a scrap of my  favorite patterned paper or a little snippet of ribbon...or a few sequins that would finish off a project beautifully.  It's amongst those little piles that I keep the process going.  I keep creating.  I keep making stuff.  I keep discovering......I hope you do too.  

I found this quote from one of my Pinterest boards and it was so fitting for today.  This year I've decided against choosing One Little Word but instead I'm choosing quotes that inspire me from time to time.  Enjoy your discoveries....
(Pinterest source)


February 17, 2014

December Memories 2013...Pages 20-24

Sharing the last of my December Memories 2013 album this week.  I'm so, so happy to have this album 100% completed.  What a treasure this will be in years to come.  As you recall, I used the Gossamer Blue 2013 December Memories Kit for this project.  It was awesome...can't wait to see what next year brings. 

Starting today where I left off with page 20.  
Still loving all the gold accents and thread I used for this album.
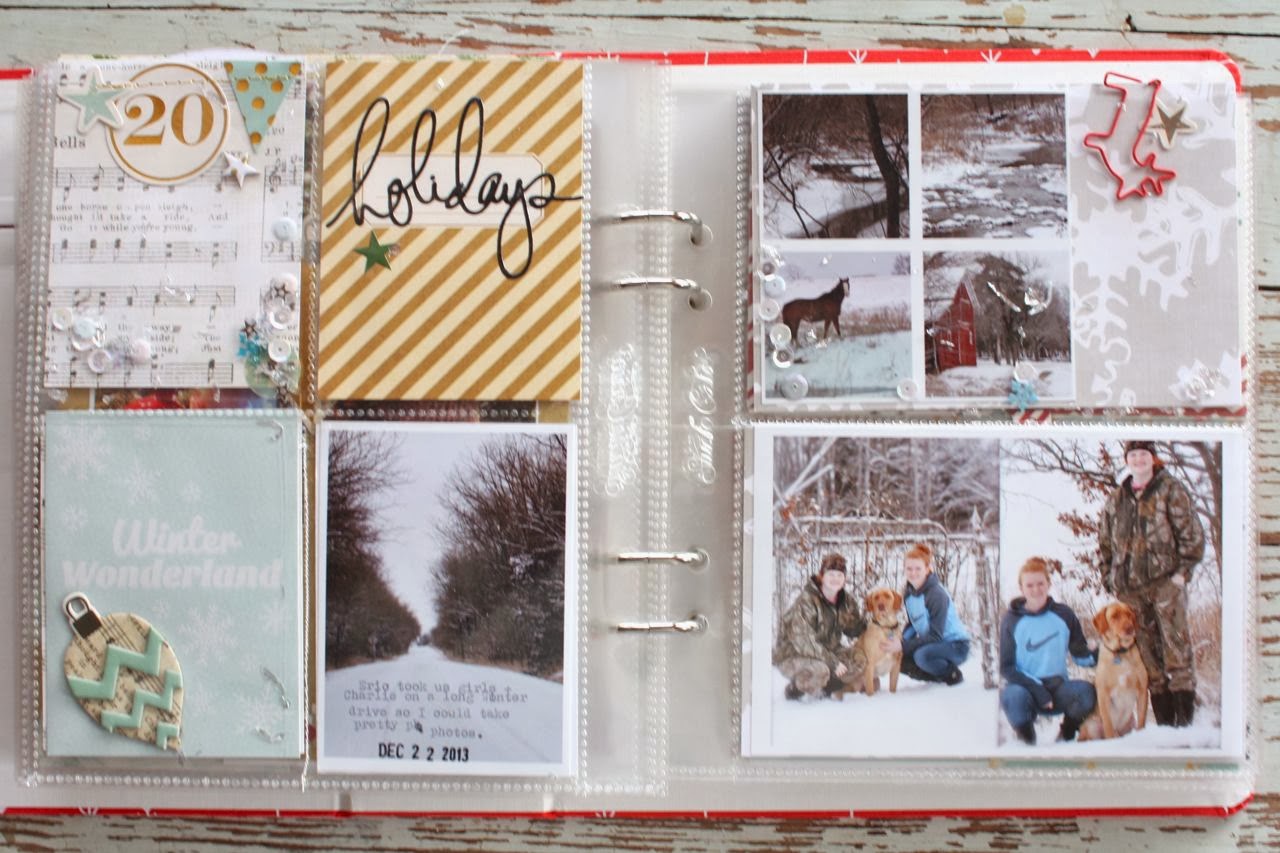
This day was a fun road trip through the snowy countryside to visit my favorite barn.
Page 21 was all about getting presents wrapped.
I used lots of my Grid Paper Labels for typed journaling.
Page 22, starting Winter Break.
Lots of fun inserts to fill up the pages.
Gold stitching to enhance some chipboard lettering.
Page 23 was about keeping calm amongst the hustle and bustle.
I used a photo from my last shopping day in town before Christmas and one of my dad putting out a fire in our oven on Christmas Eve.
Day 24 was Christmas Eve.
We had my folks over for soup night then we opened a traditional Christmas Eve gift.  It was playing cards so we broke them in with a good game of Nertz.
I used a Medium Manila Parcel Tag for typed journaling and some stickers then added gold stitching.
Loved the vellum embellishments from the kit when paired with gold stitching.  Here I also used the stamp set that came with the kit.
Hope you enjoy!  I'll have one last post sharing the remaining pages of my December Memories album later this week.
Related Posts with Thumbnails