Happy New Year! Here's to a fantastic new 2012 and for a lot of us, a new year of Project Life!! I'm very excited to be a member of Becky Higgins' first Creative Team. Please be sure to check out the
other team members' blogs for more inspiring Project Life posts. You can also find links to their blogs and the PL product lineup at the left of my blog.

This will be my 4th year for Project Life(the 1st year was Becky's original kit). For me it's the perfect way to capture the every day moments of my family and preserve those memories in a manageable way of scrapbooking.

As I complete each weekly layout, I just smile a little inside. Knowing that each photo, each day, each week, and each month will be compiled into a wonderful album filled with all the little moments my family has shared....well, it's just a priceless treasure. Working on my Project Life pages is so rewarding for me. I get to fulfill my love of photography and scrapbooking while reliving all the little moments and memories. My little family is growing up. These are the days. The days I want to remember forever. Not just the big events like birthdays, holidays and graduations but all the little day to day moments in between. I'll hope you'll join me again this year as I share my love of Project Life with you here on my blog.
Just so you know my method for Project Life, I use the photo a day approach mostly. I try to take a photo a day and sometimes it works out that I just have a collection of photos for one week. These all go into a weekly Project Life layout with a few additional page protector inserts here and there. I use Photo Pocket Pages with Design A for my basic layouts but I'm excited to work in all the types of photo pockets this year for some variety. Here's the
entire collection of Project Life products. You can purchase them through Amazon by clicking on the links. This year I'm excited to get the new
Clementine Core Kit but I'll be mixing in items from all of the kits here and there, along with some of my own products from my stash.
Here's a sample below of a typical Project Life week from my album. This is the majority of the scrapbooking I do so I like to get scrappy with my layouts. I like to treat each insert space as if I'm doing a mini scrapbook layout, with all the spaces coming together to form what looks like a modified, traditional 2 page spread with 12 x 12 pages. This method totally gives me my scrapbooking fix. Here and there I'll add in some more traditional scrapbooked pages.

A while back I showed a snapshot of small portion of my Project Life organization. Since then I've had lots of requests for full photos of my work space + a listing of my favorite supplies to work with while creating Project Life layouts. So here we go....it's a long post because I decided that I'll just add everything I want to share in one post for easy reference.
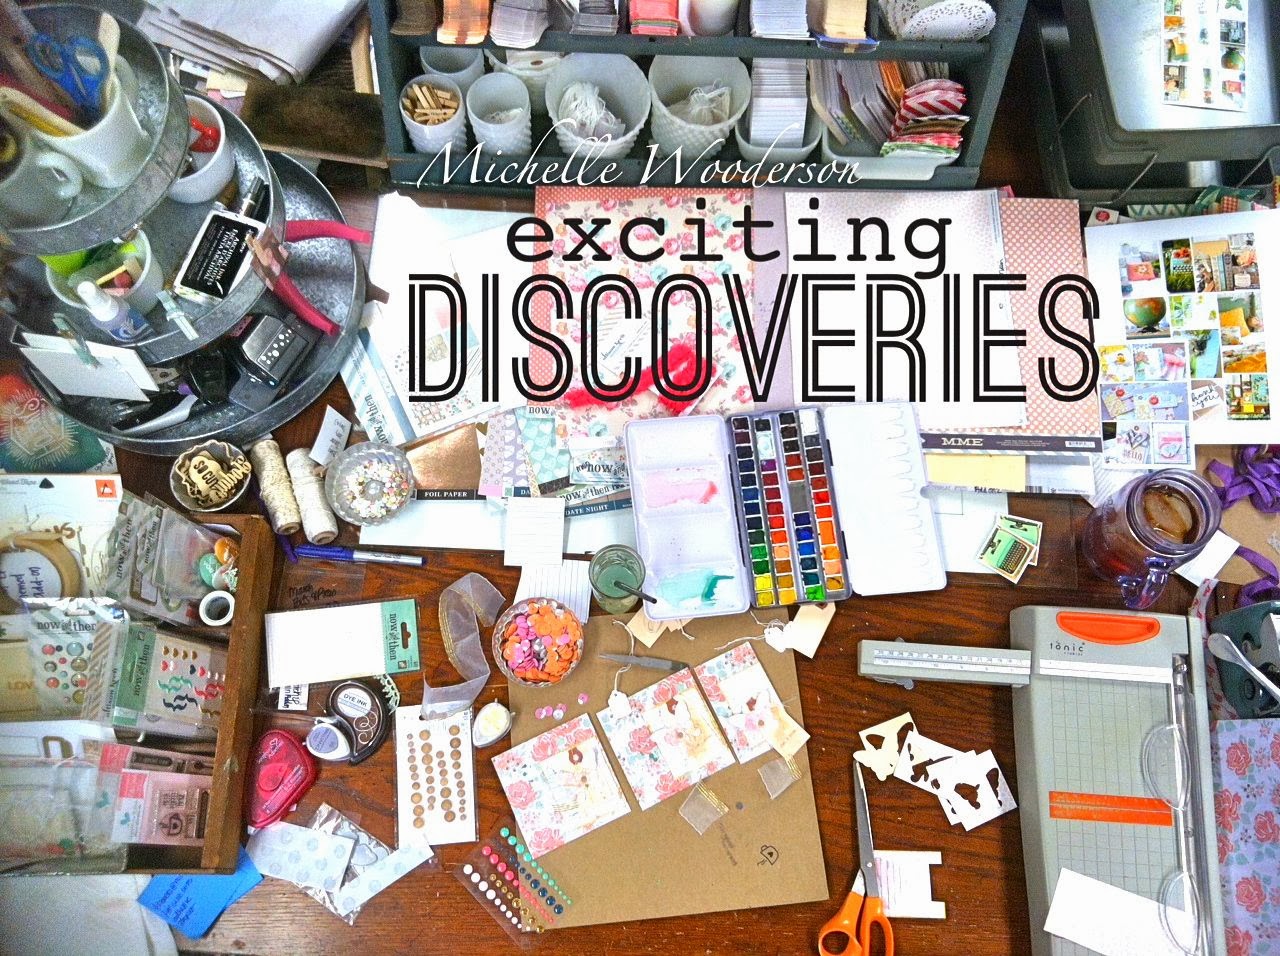
My Project Life Work Space
This is a shot of my craft room work spaces. My room is compilation of about 15 years worth of crafting supplies and various organization items. It's a total
mish mash of products that I'm always rearranging, purging, replenishing and organizing.

I have 2 standing height tables that I use for various tasks. The left table shown below is where I work on all my projects including Project Life, stamping and other crafting. The right table is where I work on special projects like my Daily December album, Etsy kit assembly, packaging, and sorting. One table is a yard sale find and the other was a cast off from my FIL's business.

Below I'm facing my Project Life work table. This is where 99% of my work gets done. The two off white divider units are the ones you've all been asking about. Each unit is 36" long. I got them years ago on clearance at
Pottery Barn Kids. I believe they were intended for dressing table organizers. They're now discontinued...I did a lot of research trying to find something similar to link to but didn't have much luck. I did find
some nice units from The Container Store that will maybe spark some ideas if you are researching Project Life storage for your own needs. You could also check out stores like Ikea, Target, office supply stores, thrift shops, etc for storage ideas.
 The Right Divider Unit
I'll talk about each storage divider starting with the unit on the right. I love that both of the dividers are right in front of me when I work. Everything is in sight but just far enough back that I still have plenty of table space to work on projects and even lay out my fully opened Project Life album. I consider my Project Life a work in progress and keep all my pocket pages in the albums while I work. The pages are usually flagged with sticky notes of what needs to be photographed and blogged....what photos need to be added..what supplies I want to use, etc.

This divider unit is used for mostly my Project Life Core Kit components. This includes all of the 4 x 6 Title Cards, 3 x 4 Filler Cards, 3 x 4 Journaling Cards and Blank 3 x 4 Journaling Cards. You can see examples of more of those cards if you
click on the thumbnail photos at this link.

All the components fit nicely into the divider slots as you can see below. I just reach for a stack of cards and thumb through them each time I'm working on a Project Life layout.

I've got a few other sticky type pads in this divider unit too. These include fun adhesive notes by
Russel + Hazel and
lined & gridded post-its from my local Staples office supply store. I use these both as organizing tools to mark pages, sketch ideas + as embellishments for my Project Life inserts.

In the back of this divider unit I have a section that I use to safely keep papers and collected items such as the Pottery Barn bean bag tag, notes from school, Eric's nice speeding warning ticket(!), miscellaneous photos and more. Kind of an in/out box of sorts.
 The Left Divider Unit
Here's the left side divider unit. This lines right up with the right side divider unit on my work table.

This unit holds a ton of paper type products + stamps + labels + papers and more. Again, all in easy view so that I can do a quick scan and be reminded of what supplies I have on hand. I'm a total visual crafter. I like to have my supplies nicely organized but out in plain sight. That's why open divider units like this one, wicker baskets, old wire locker baskets and vintage items like jello molds and bread tins work well for me. My organizational goal this year is to get rid of all things
plastic-y in my craft space.

I've photographed all of my favorite products that I use for Project Life. First up is labels, labels, labels.
Check out this Project Life post to see how I love to use labels for journaling.
Most of my labels come straight from my local office supply store or Walmart. You can run these through your printer, stamp on them or use them in a vintage typewriter which is what I do most of the time.

Here I've got a
fun tin of Sticky Notes from Cavallini & Co. + index card file dividers from my local office supply store + small Chevron, lined and grid sacks from
my Etsy shop (more coming soon)(you can see an
example of how I used the yellow Chevron sacks here) + a sampling of plain, lined index cards + some
handmade journaling cards that I made from a recent kit I had in my shop. The best way to use these little items is to just look at what photos and colors you have available for a particular week's layout. Then shop your stash. See what coordinates, or get mixy matchy. That's the best part of having a stash of goodies available at all times.

To keep all of my paper items in order but still in sight, I needed a way to keep them organized in small collections. I use simple
Mini Clothespins and
Small Clothespins. You could also use metal clips or paper clips too.

Here I've got another stash of the
Russel + Hazel sticky notes + some regular office supply sticky notes that I use to organize my weekly photos & journaling + some old library return cards that I got from Etsy. Check out my post on
getting behind & getting caught up to see how I use my sticky notes to keep my Project Life weeks organized. Sticky notes are my best friend when it comes to Project Life.

On to patterned papers, one of my favorite supplies for scrapbooking. Recently I have begun purchasing 6 x 6 paper pads for my paper crafting. I purchase most of them
here at Two Peas in a Bucket. Usually I just add a 6 x 6 pad to my shopping card whenever a new line of products come out that I like. I'll add in a few of the 12 x 12 sizes that I like too + chipboard elements, sticker sheets, alphabets, etc from a particular line that I like. Shopping
from a collection of a particular line like My Minds Eye's Everyday Fun line gives you a nice little selection of coordinating items to use if you want to have a
PL layout all mesh together like this layout.

If you haven't purchased 6 x 6 paper pads before here's the scoop: The papers are usually 6 x 6 in size and are bound into a compact paper pad. The pattern is a smaller scale compared to a 12 x 12 piece of patterned paper as you can see below. The pads are easy to store and I love the smaller scale for the small insert cards for Project Life.

Here's some of my favorite lines of 6 x 6 paper pads.
Picadilly from Basic Grey, although I don't see this particular 6 x6 pad listed at 2Peas right now. Sassafras
Sunshine Broadcast, discontinued but you may be able to do a google search or find larger size papers if you like the line.

Studio Calico's papers which are available at
2Peas and the
Studio Calico website. Currently there are 6 x 6 pads in the
Autumn Press and
Memoir . Studio Calico's papers give a great mixy matchy feel.
 Crate Paper lines
, some of my personal favorites offering wonderful collections of colorful and somewhat vintage looking papers. I often purchase 12 x 12 papers and coordinating embellishments from this company.

Lily Bee Designs papers, so colorful with a slightly distressed, worn look. I also love their
Cardstock Sticker sheets. A whole lotta bang for your buck.

One of my all time favorite companies,
My Minds Eye. Oodles and oodles of papers and embellishments and coordinating stamps.
 Masks
Masks from Studio Calico. These are fun to use to create backgrounds using Studio Calico's
Mister Huey spray mists.

Little sticky notes called Scrap Pads from Studio Calico. There are currently 3 differently styles,
Autumn Press,
Memoir, and
Classic Calico. These are great to stick on journaling cards or use mini staples or machine stitching. I like to stick them to a piece of copy paper and run them through my vintage typewriter for journaling too. Look for them at 2Peas too.

Again, I keep all these groupings organized with my little clothespins.

Security envelopes from bank statements and bills. Kind of a weird thing to keep but I love the patterns on the insides of the envelopes. If you like to get scrappy with your Project Life, you'll be amazed at the new way you look at junk mail, catalogs, mailings, product packaging and more. Fun little items you can die cut, punch, etc. With that said, just be careful to not collect
too much stuff.

Stamps! I am an avid stamper of cards so it's natural that my stamping would carry over to my scrapbooking. I really love
Ali Edwards' line of stamps from
Technique Tuesday. You can purchase Ali's stamps directly from the Technique Tuesday site or look for them at other online sites like
2Peas.

My Minds Eye has
2 fun stamp sets out that I've been using a lot too.

Jenni Bowlin has a fun
Days Of The Week stamp set that is fun for making big and bold journaling cards. These are big, like 3" wide.

My
Papertrey Ink stamps also get good use in my Project Life albums. I keep these in a separate cabinet nearby and reach for them as needed. There are lots of categories to choose from
such as these Labels that have coordinating die cuts. The
tags would be great to use on PL pages too. Most of the circles can be punched with a 1-3/4" circle punch. The
background stamps can be used to create virtually any pattern you desire.
The Tool Basket
I think it's a great idea to keep a small basket that houses your most used tools. Tools you reach for almost every time you scrapbook. My little basket is from
Longaberger and sits on my work table at all time.
 The 3-Tier Storage Unit
This
galvanized metal 3-tier stand from Pottery Barn is a favorite storage item in my craft room. It totally works with my *out in the open* method of storage. And going vertical is a great way to add storage to your crafting space. Whether it's stacking units, bins, baskets or shelves...use that vertical space to utilize more of your craft space real estate.

My 3-tier unit houses a variety of supplies that I use not only for Project Life but for my crafting projects in general. The little chicken is a vintage pincushion that I found at my local thrift shop.

I keep a small calendar clipped to my 3-tier unit so I can have it handy at all times. The small size is perfect for referring to dates of a particular week and when using my date stamp to create journaling cards.

You can find these small calendars at various business or banks that hand them out as freebie promotional items. I tear off the advertising and use just the calendar.
Check out this post to see my calendar system that utilizes a bigger day planner type calendar.

Also in the top of my 3-tier unit is my growing collection of Washi tapes. Washi tapes, or Japenese masking tapes, are opaque tapes from from rice paper. They are tacky but can be removed easily so they're pretty forgiving. Most of the ones you see below are from
Pretty Tape. You can see my tapes in action in
this week of Project Life. To store my tapes I use vintage receipt spikes. I found these various spikes from Etsy, local thrift shops and Ebay.

In the middle tier of my galvanized unit I keep sprays, paints, and powders. Very easy to reach and see what colors I want to use.

Here I have a fun collection of
Studio Calico Mister Huey mists,
October Afternoon Sprinklers, and
Zing embossing powders. I also have a small collection of Martha Stewart paints from Michaels.

I have this thing for clothespins. Tiny, small, big, plain, embellished...I love 'em. I keep a fun collection clipped to my 3-tier unit.

I use these to clip together anything in small collections.

In the bottom of my 3-tier unit, I keep a scattering of supplies that I reach for often.

Vintage jello molds are a favorite of mine for storing small embellishments like clips,
tags, and buttons.

This vintage flower frog is perfect for storing pens and markers that I use for journaling. Circle punches are used quite often so they stay close by.

Here I've used more of the vintage receipt spikes to hold
tags that I use for Project Life journaling cards, packaging and cards. Tags are just a staple item that I use all the time.

Here I have a vintage, aqua candy dish that holds mini clothespins and mini wooden spools + a
small tumbler from Anthropologie that holds larger clothespins.
 Marker Storage
I have an additional storage piece that can be easily moved to my work table when I need it. This wall is directly behind my Project Life work table.

The storage piece is a vintage wooden tray that is made from canteloupe boxes, I believe. I bought it at a local antique shop because it was just too cute to pass up.

Here's the top view of my tray. Another
mish mash of sorts but all the supplies are neatly tucked into even smaller storage pieces inside the tray.

On one side of the tray I keep all of my
Elle's Studio paper goodies tucked into a wooden divider that came with the tray + some smaller vintage jello molds. Elle has a wonderful selection of printed paper die cuts that are perfect for journaling cards. I use them all the time + they show up often in many of my Etsy kits. I also keep my
Studio Calico chipboard pieces + brads,
Smash items, tags and misc items in the little tins.

On the other side, I discovered that my prized enamel bread pan and muffin pan nestle into the wood tray perfectly.

If space is cramped I can take out the little storage pieces and keep them on my table.

The muffin tin holds more Studio Calico chipboard pieces, metal clips, more Smash items and
wooden embellishments.

The bread tin holds more small stamps and a Smash date stamp.
 Vintage Typewriter
My vintage typewriter is my special little aqua colored cutie of my craft room. A friend of mine called me one day from Good Will and asked if I wanted this vintage typewriter. She knew I was looking for one....who knew she'd find the perfect color! I purchased a new typewriter ribbon from Staples and to re-thread it onto the existing spools. Messy and inky but oh so worth the trouble. I use this for typing directly onto journaling cards, tags, sticky notes, stickers and more. If you're looking for one, I would scope out garage sales, antique shops, and thrift stores. About $20 bucks is a good deal around here. Mine sits on a vintage typewriter stand that has fold out surfaces. This tucks right under my table and I pull it out when I need to use it.

And this concludes the tour of my Project Life work space. I'm happy to answer any questions you leave in the comments section. I'll be adding this post to my
Project Life Topics Page which is located at the top left hand corner of my blog. At this link you'll find my informational Project Life posts linked in one spot. For my actual Project Life weekly layouts, you can visit the "Labels" section of my blog on the left side and click on the labels "Project Life 2011" for last year's post and "Project Life 2012" for all of this years posts. All of my posts will be listed in the order they were posted.
Whew. My fingers are cramped now so it's time to wrap it up. Here's to a great year with Project Life. Good luck, don't stress, dedicate time and most of all.....have fun preserving your wonderful memories! Check back often for more Project Life updates and informational posts.
Edited to answer questions:
1. I'm not sure about the acid content in the Sharpies but the Markits site said "no added acid; no measurable PH".
2. The Pottery Barn 3-tier unit does not have a rotating base available. If you found a lazy susan big enough I suppose you could sit the unit on it so it would spin. I don't mind just reaching around for what supply item I need though.
3. You can check the ways to add my blog to your feed at the left of my blog on the sidebar. At this time, I don't have an email subscription available.




 Posts
Posts

