March release projects with you. All of my projects today use my handmade border strips that I showed you in
. The decorative strips made it so easy to come up with card designs. I'll definitely be using them on more projects to come.
First up is a simple birthday card using
2012 Birthday Tags.

I stamped a few stars on my Rustic White base card, layered on a border strip and tied on some baker's twine. I layered on a dimensional tag made by piecing together different colors of stamped images. By using the new Edgers #5 file folder die, I had the perfect spot for another little sentiment. A few splatters of Mister Huey ink finish off the card.

Here I used
Tremendous Treats: Birthday and
Heart-2-Heart #2.

I paper pieced the cute turtle shell and colored the rest with
Copic markers.
Washi tape, some ink splatters and machine stitching finish off the focal point. My border strip features a few of Dawn's dies, the heart and star borders along with
ric rac and a scallop.

Up next are some cute gift sacks I created using
Medium Glassine Sacks from my shop + Heather's
Framed Out #2. I added a few border strips with
Scor-Tape, tied on some baker's twine and popped up the colorful, stamped frames. Remember that confetti I showed you in my last post? It's making it's debut here in the bottom of the sacks.

Last week Josey got invited to a birthday bonfire. I always like to send a little gift for Josey's girlfriends but it seems that kids these day just plan events very spur of the moment. Since we live in the country it's not always convenient to make a town run. So I'm making up a few of these gift sacks to have on hand. They're perfect for tucking in a few candy bars that we can pick up at the convenience store on the way to an event. I always find that my gifts are packaged way cuter if I have something made up in advance.

I made a few fancier versions of the gift sacks in case I need a gift for one of my girlfriends too. This time I used my
Kraft Sacks as the base, splattered with Mister Huey white ink. Wanting to use my confetti, I thought why not make a "party in a sack"? So I filled some
Small Glassine Sacks with confetti (you can see my version in
this post) and stitched up the opening with my sewing machine.

These were tucked under my handmade border strips with a hand cut notched banner underneath. Nichole's new set
2012 Birthday Tags was perfect for creating a bright circle embellishment.

I stamped the arrow stamp from
Movers & Shakers Sentiments on the sacks, pointing to the confetti sacks. If the recipient wants, they can rip open the sacks for instant fun, confetti spillage.

The "celebrate" is from Think Big Favorites #13. I can't wait to fill these
goodie sacks with a special treat for friends.

Here's a gift ensemble I created for my sister for when she comes to visit this week. Her birthday is coming up and she loves my cards as a gift. I'll tuck them all into another "party in a sack" gift bag.

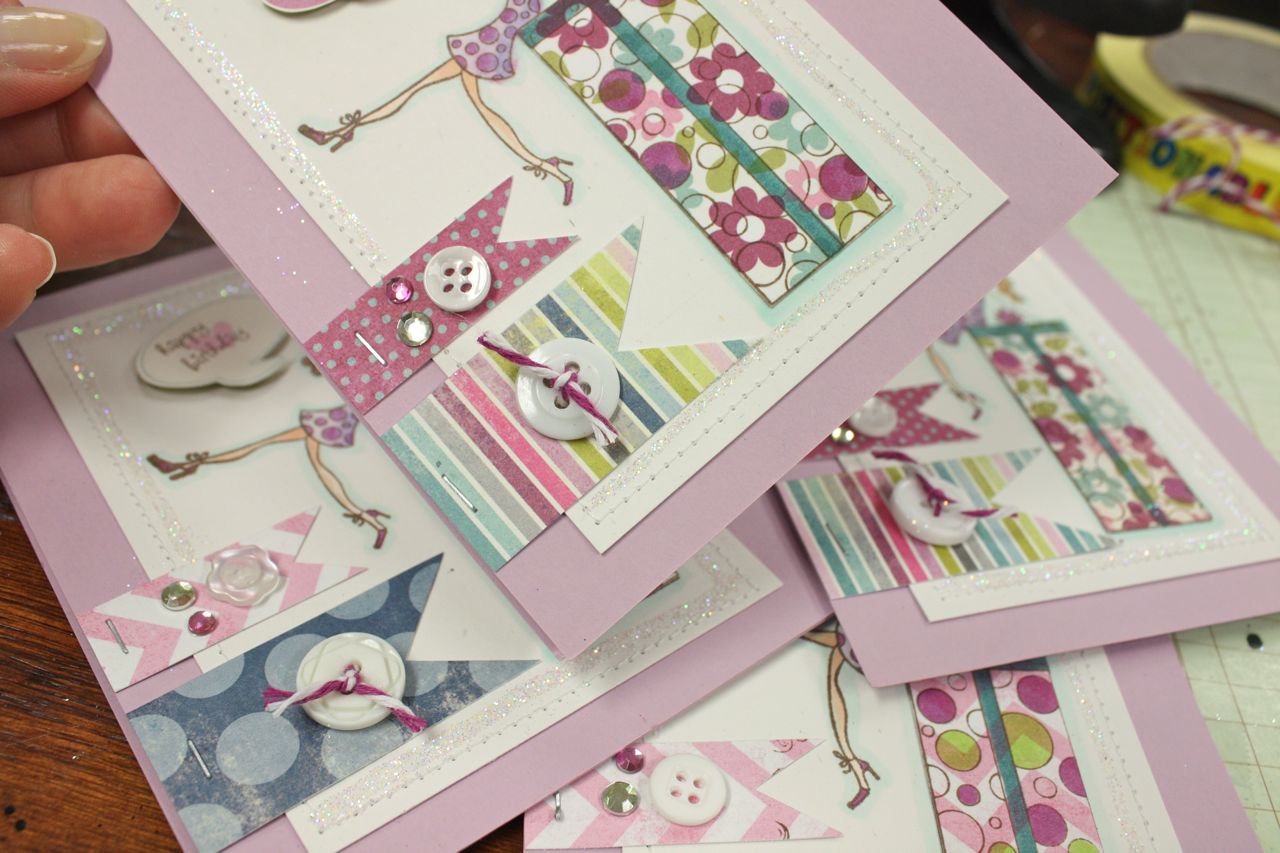
Here's the card trio. By using the colorful border strips I didn't need a lot of other embellishments. I used stamps from
2012 Birthday Tags along with others from Movers & Shakers Sentiments. Ink is the old style Smokey Shadow.

For the tops of the cards I used Kraft
cardstock with white ink and the new
Background Basics: Wrought Iron set. I love it as a pretty little background.

And here's a close up of the confetti gift sack. This time I used a clear bag to package the confetti. I added in some punched doily pieces and vintage book print. The tag was made with
2012 Birthday Tags in Smokey Shadow and Ripe Avocado.

I hope you enjoyed my projects this month. I think while my work table is still a mess I'll just create some more fun birthday confetti sacks and cards. That confetti IS addicting. :)




 Posts

