Edited to answer questions:
1. The Canon Selphy is designed to use camera cards that fit directly into the unit. I do not print directly from my cell phone to my Selphy. You can however hook your Selphy up to your computer, email your photos to your computer (or if you use Apple products with iCloud, I believe they transfer automatically)....and then print to your Selphy from your computer.
2. Thanks for sharing the
ohlife.com link. Looks like it sends you email prompts that allow you to write in some journaling. Pretty neat.
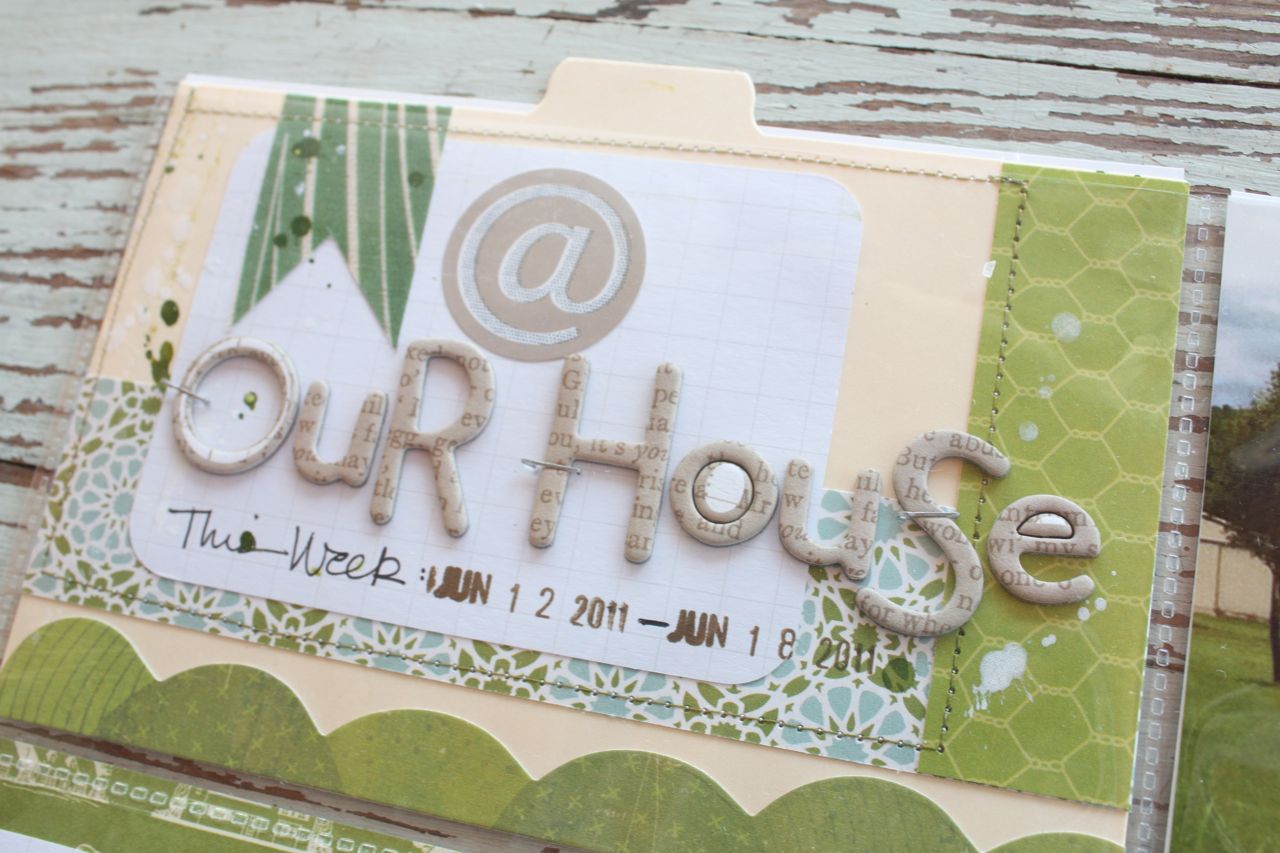
3. The green calendar I used is from Target. I got a new calendar from Target that I'll be sharing in a post soon. I'll be showing you how I use my calendar to keep track of photos taken, notes, etc.
4. The days of the week stamp that was asked about is from Ali Edwards' collection from Technique Tuesday.
Hello everyone, I hope your week is off to a great start. I have had tons of comments about how excited you are to start Project Life. I'm so excited for you for a couple of reasons. One, you will never regret getting those photos into albums. Secondly, it means that I get to be even more inspired by
your Project Life pages.
I recently divided my pages for 2011 into two albums. I think this will be the norm from here on out ever since I decided to get *scrappy* with my PL and add embellishments, additional layouts, etc. My #1 album with pages from about January-May is complete. As you can see below, I have pages and pages of photos + stories from every week of our life. How awesome is that!? I have this album sitting out in our family room and I'm amazed at how family & visitors love to thumb through it. That's our goal right, to have our albums completed and ready for everyone to enjoy?

With that said, raise your hand if you're behind with your Project Life pages? Me, me, me. Don't feel badly, even the most devoted Project Lifers are going to fall behind at some point. We're busy...life happens.....we have job & families to take care of....the world keeps on spinning. Today I'd like to share with you my process for getting caught up. For me, the summer months get extremely busy. For the past 2 years, I've noticed that May is where I start getting behind with my PL pages. So far behind that at one point I counted 17 weeks that were not completed. Yikes! I'm down to 10 weeks now and am working diligently to be caught up with 2011 by the time 2012 rolls around. Is it possible to get caught up? YES!!!
To get some perspective, let's start by categorizing our level of "behind".
The Moderately Behind
This is where you've kept up with your PL to some level although you have numerous incomplete pages. You may have the journaling cards in place. You may have the photos in place or stored online or waiting on your camera or camera card. You may have sticky notes in place, you may have written notes on your calendar. There are gaps but you're still hanging in there. You seek out PL blogs and pin every cool idea you find. Your interest level is definitely high. You really want to get caught up but maybe you got busy, or got sick, etc, etc, etc. This category describes me for the most part. The weeks that are not complete look like the ones below. I have dates, photos and sticky notes. I just need to carve out time to work on my pages. I'm hanging in there.
 The Mega Behind
I have a few weeks where I fit into this category too. This is where ya got
nothin'. No photos, no
journaling....just blank, empty pages staring back at you. You may or may not have taken photos. You may or may not have written down events and dates in your calendar. You may have a few pages like this or you might have more pages like this than you want to admit. You might be feeling a little panicky at this point, like there is no way you'll catch up. But you're still excited about Project Life. You still want this method of
scrapbooking to work for you. You're hanging in there.
 The MONDO Behind
You've got it bad if you're in this category, my friends. ;) Your Project Life looks like the photo below. It's all still in the packaging! You haven't even fondled the cute journaling cards. You thought Project Life sounded like a great idea. All your friends were doing it. You thought it would be simple. You think Becky Higgins rocks. You have photos still in the camera, just waiting to be scrapped. Maybe you have the baby's first year that you really wanted to document. Maybe you have awesome vacation photos that you wanted to get into a travel themed album. Whatever the case, you didn't start it. Not one bit. Your intentions were good, but you're wayyyy behind. So far behind you can "see your butt in front of you" kind of behind. I'm not in this category, but I can definitely empathize with you. I know you want to make this work. I know you feel there is no way you'll even get started. You can do it, a little at a time. There is hope. Hang in there.
 So Where Do You Start?
I'm going to share how I am working to get caught up so please take my advice as you wish. There is no right or wrong way to do Project Life. Whether you are just adding photos + simple journaling cards from the kit....or you're going all out and using scrapbooking supplies + photos + collected items + additional scrapped layouts.....the process of getting caught up will probably be the same. Time wise, you will definitely get more pages completed faster if you just add in photos + simple journaling cards. You might want consider that route so that you can make some major progress in a short amount of time.
Get In The Right Mindset
At this point you need to do a little evaluating. If you want to get caught up, keep on going or even just start using your Project Life tools then you've got to make a commitment. It takes time. The photos don't magically appear in your album. You've got to start carving out time to work on your album, start taking notes, start keeping a calendar, and start printing those photos in a timely manner. I suggest that you start now on the current weeks and get some pages done while they're fresh in your mind. Get a feel for how you want your albums to look. Then add in one or two past weeks. As you keep working, the gap will fill in. It's a tedious process but well worth it. As I counted down from 17 weeks to 15 weeks...all the way down to my current 10 weeks of being behind....I saw my pages fill in. I saw the stories come to life on my pages. I saw the big picture that this is all worth it. But ya gotta pay the piper, right? You must devote time to getting caught up. Just dig in. Just start. Be patient. Do you try to catch up on a full year? 2 years? Or do you just want to start fresh in 2012? That's up to you but if you make a plan, you can do it.
Use Your Calendar
You may think that printing your photos is the first step but I took a different approach. I work in a weekly format and know that there are a limited amount of spaces to fill up. If I printed
all of my photos, I would have
way too many to use and they may sit idle. So I started with my calendar, going as far back as I needed. Whether you just have the regular appointments and events listed....or you have made some detailed notes....your calendar will be a great starting point. Go through each month, finding the important dates + events that you want to document in your PL album. This will get the wheels turning and will hopefully jog your memory as to what you took photos of or where there might be huge gaps in your photo taking. Have a notepad handy and make lots of notes. If you have to, write down the month you are working on and then make a bullet list of each day in that month that you have a photo for. You can fill in the gaps....or just leave out those days/weeks altogether and just move on. For keeping track of your important events from now on, I'll be doing a post about how I organize a week's worth of photos & "stuff" soon.
 Print Your Photos
Once you've got a little clearer picture of what dates/events you want to put into your Project Life,
then start the printing process. You will need to check all the places you store photos. This may be on your regular camera card, your cell phone, online photo galleries, emails, text messages, etc. It's kind of tricky to get all of the photos and information organized from your different devices, but ya just gotta dig in and do it. Here's a tall stack of photos that I just got back from
PostalPix. It's an iPhone app that you can use to order photos right from your cell phone. I also print photos at home using my Canon
Selphy. You can find them online at Amazon, etc. I've also recently purchased a new printer to print some photos at home. I got an
Epson Artisan 730 directly from
Epson because it had an instant rebate at the time. I haven't printed photos yet, so no reviews. I'll do a more in depth post about printing photos if anyone is interested.
 Sticky Notes, Sticky Notes, Sticky Notes
Yep, I love 'em. I could not do my Project Life without them. Get yourself stacks of them because you will go through them like crazy. Gather up a few good pens + markers too. Heck, make a special trip to the office supply store. Purchase some fun supplies. You deserve it. (
insert enabling smiley here) See that hokey little pocket calendar? Pick up one of those too...or print a cute one. I get ones from the bank to use each year and keep it right at my Project Life workstation. You'll need it along with your regular calendar that you're going to start taking notes in......
riiiiight?
 Filling In The Blanks
Here's where the fun....and hard work.....begins. I suggest you claim a kitchen table or carve out a devoted scrap room space that you can take over for the rest of your scrapbooking life. Just tell the family that you need this space. They'll surely understand that eating off of tv trays in the living room is a sacrifice worth making all in the name of Project Life.
Next, get your pages into your Project Life album if you haven't done so. If you're working in a weekly format, I suggest that you write each week on a sticky note and stick that in the top left corner of the left hand page protector. For example, write down November 6-12(because my days start on a Sunday) and stick it on the page protector. Start back as early as you need to and go through the entire album with these dated sticky notes. (See my photos above to see all my sticky notes).
Now start filling in the photos that you know will fit into a certain week's worth of photo slots. Some slots will be easy to fill in because you know on your calendar that it was Suzy's birthday, or first day of school, your first day of work, etc. Those are the easy slots to fill in. For those slots that are blank, you can fill them in with random photos that you know were taken around that time frame. If you know you don't have photos to fill in the slots, think about photos that you can take to fill in....like a photo of your house, your purse contents, your messy closet, your favorite collection, etc. You don't have to have it perfect and no one is going to know that you improvised a little...or a lot.
Use your sticky notes, friends. Aside from the dated week stickies, add a sticky note on each slot where you know a photo should fit. Make little notes with dates, a few lines that will jog your memory when it comes time to journal, etc. Put a sticky note on a slot as a reminder to print a certain photo, etc. Your pages might be filled with sticky notes like mine above. That's good, you're making progress.
If there are major gaps, you might want to consider just adding in the photos that you have in chronological order and condense your pages into smaller time frames. So for example, instead of having a 2 page spread that represents one week, you might turn those two pages into a monthly spread for all of October. It's okay to do that, remember there is no right or wrong. you might like this idea so much that you may decided to make this your Project Life format. You simply highlight your favorite photos from a month and end up with handful of pages on one 2 page spread. Or maybe 4 pages per month. Make it easy for you. Don't freak out by trying to fill in those gaps. If it doesn't work, move on. Also, remember that those gaps can be filled with items other than photos. Add in school work from the kids, movie ticket stubs, napkins from restaurants, packaging tags, text messages, emails, etc. Ask your friends and family for photos too.
Once you have enough photos in place to complete a spread, start journaling. Use the simple journal cards or get scrappy, but start the journaling process. Your memory will fail, trust me. You think you might remember an event but the details start to slip. Start with some of those earlier pages so that you get them completed before all the memories are gone. But don't forget to do some current weeks too so that you capture the freshest stories.
Adding In Additional Pages
I'm just going to cover this briefly as I want to do an entire post on adding in additional pages. My same organizational concept applies for additional photos and collected items that you want to add to your PL album. I'll just show you a few photos so you can get the idea of what I do.
Here I have some extra photos of when Josey got her first driver's permit. I have more photos than what will fit in that week's slot + I want to create a traditional scrapbook layout. I'll come back to this page and work on it when I get time. But for now, the photos are slipped into a page protector with sticky notes.

Here I'm going to use one of the new Project Life divided page protectors. I've slipped in my photos + I added in some of the paper that coordinates with the completed weekly spread. I also stuck in a few embellishments that I want to use. Notice that little sticky note with the sketch?
So Becky Higgins, don't ya think?

Here's some 4 x 4 photos from a day we took a country ride in our new Gator buggy. I'll create (2) 6 x 12 layouts using these divided page protectors. I've got my sticky note at the top that lists a few details I want to remember.

And here I have two different size pages that I want to add in that are totally non-related. I'm using a 6 x 12 page protector for the girls' 5 x 7 school photos + I have an 8.5 x 11 page protector for an event brochure and a few photos from that event. Notice that I stuck in a few embellishments that coordinate with the completed weekly spread. I want to make sure that I don't deplete my stash of those particular items.

And that's it. That's how I'm working to get caught up. Currently with my scrappy style of completing my weekly spreads, I spend about 2 hours per layout. However, I've been adding in a lot more of the simple
journaling cards from my kits to speed things up a bit. I simply pick a week that needs completed and then I select a few papers and embellishments and get to work. I keep repeating, *work quickly here but enjoy the process*. I realllllly want to accomplish my goal of having my 2001 album completed before 2012 rolls around. That is with the exception of my additional add in pages that I want to scrapbook. I know I won't get those done but they'll be great pages to work on a crop, weekend scrapbooking marathon, etc.
Are You With Me?
So, you think you can catch up? Or at least give it a shot? Or at least get started? You can do it. Just start. And then keep working. Good luck!!
Note:
I have added a *Project Life Page* to the top left of my blog. I'm going to add in links to important topics so that they can be referenced easily. So be sure to look there for big posts, etc. My weekly layouts with photos will not be included there though. For those, you can go to the *Labels* section on the left side of my blog and click on *Project Life 2011*. There, all of my posts about PL will show up in order on my blog. I hope this will be helpful.

 The photo below reminds me of my Holiday Inspiration Stations that I assembled for each and every little occasion. I love making assembling those and I've used that same method to assemble my supply basket that I'll be using for my DD. All of the extras from the Holiday Journal Kit from my Etsy shop, the DD kit from Studio Calico, stamps, journaling cards and more are all tucked into a wicker tray.
 You know I love my little tins so I gathered up a bunch to keep things sorted. Here I've used a bread tin to hold Elle's Studio journaling cards and tags, Echo Park notions, Crate Paper embellishments from the Peppermint collection, tags from my shop and more. Can you tell I love the Small Clothespins? I use them all the time to clip together little goodies.
 Here I've got a tin full of chipboard accents from Crate Paper + a jello tin filled with Washi tape. If you purchased one of my Holiday Journal kits, you got a sampling of Washi tape to use on your album. Behind I've got all my chipboard alphabets, sticker alphabets and stamps all lined up.
 In these cute Christmas tree tins I've got all kinds of small goodies that I didn't want to get lost in the shuffle. There's brads, buttons, punched shapes, tags and more. I'll be using a few items from my regular stash too that I'll just grab when needed.
 I'll be keeping my Daily December album in this vintage letter tray near my stash of supplies. Here, I'll drop in photos and little collected items that I want to add to the album.
 I'm so excited to start the holiday season now. We'll be decorating the tree and house this weekend. It's beginning to look a lot like Christmas. :)