Showing posts with label Parcel Tags. Show all posts

April 6, 2015

Typewriter Card

Happy Monday everyone.  Hope your week is off to a good start.  Today I'm sharing a fun card using the 1970-Something Kit from my shop + products from the April Gossamer Blue Kits.  I love mixing and matching items that I create with items from the kits.  
This card has an office supply feel so it could be especially fun to give to a co-worker or a school secretary....or how about a friend who loves the whole planner craze.  I stamped the days of the week from the Gossamer Blue Life Pages Kit onto an index card.  I stitched on a tag from my shop kit then layered on the mini typewriter Instagram and slid the fun paperclip in place.  A little wood veneer heart and enamel dots from the Gossamer Blue kits finish off the card.
I think it's so fun to make time for yourself, or invite a few friends over, and just sit down with your kits and items that you pick up here and there.....and just create for the fun of it.  If you limit yourself to just a few kits and items from your stash, the choices are easier.  I like to make cards and coordinating gift sacks, gift tags to attach to homemade jams and jellies, little gift enclosure cards to send along with little flowers to plant for Spring, etc.

You can find all the new Gossamer Blue kits HERE and my new 1970-Something Kit right HERE.  Enjoy!

April 1, 2015

Homemade Peach Jam Jars..

Hello there.  I'm sharing a cheery little project today made fresh from my kitchen.  I grabbed a few of my homemade peach jam jars off the shelf and embellished them with items from my 1970-Something Kit + a few items from the April Gossamer Blue kits (which go on sale today).  
I used the vintage strip of fabric from the kit + a trimmed down tag to make some cute packaging for my peach jam jars.  I typed the label using my vintage typewriter.  The wood veneer and enamel dot are from the Gossamer Blue kits.
I found the vintage, peach gingham fabric at a local thrift shop.  On top of the jars, I adhered the cute wood veneer embroidery hoop pieces from the Bits & Pieces Kit from the April Gossamer Blue kits. Such a fun little addition that gives my jars even more of homespun look.
I'll sit these on the shelf and keep them for just the right person.  They'd be cute as a last day of school gift for some of my favorite teachers and secretaries at the school, along with a little jar of fresh flowers.

Note:  Recipes are from the pectin boxes and Pinterest.  Enjoy!

November 24, 2014

2014 Holiday Notebooks..

It's time for my 2014 Holiday Notebooks.  Each year I make a holiday themed notebook for my closest friends and family.  I totally enjoy the process of choosing specific papers and embellishments for this project.  This year I chose papers and stickers from Adrienne Looman's Gingerbread Village collection for Webster's Pages.  I think I ordered mine from Scrapbook.com. So cute and charming.  My friends will love them and have grown to look forward to them every year.  
For each notebook I included a Candy Cane clothespin and some pretty wrapping.  I'll list the supplies I used at the end of the post. 
 Each notebook has something unique to it, no two are exactly alike.
 I use Papertrey Ink lined notebooks for my notebooks.  I use two for each book.  When you open the notebook there's a notebook on each side.  I don't have specific instructions for the notebooks....I just trim my cardstock to create a cover and then adhere the notebooks inside.
 I always tells my friends that the packaging is totally re-giftable.  They can just remove the circle with their name and the packaging is good to go.
 Definitely a highlight of the crafty season, seeing all these pretties lined up in a row.  I tuck them in a basket and hand them out at a basketball game or wherever I might see my friends next.
 While preparing my Noel Notions for my holiday shop update, I was sure to keep a few of everything for myself.  When it comes time to wrap gifts, I just grab my little basket with my wrapping supplies and it's quick and easy to assemble gifts.
 I like to keep wrapping supplies in a basket at all times.  The packaging is just as pretty as the gift but it's so hard to do if you're feeling rushed.  Each one of these packages took me about five minutes to wrap.  So fun and festive.
For my packaging I used Large White Sacks.  A tip:  Trim a piece of chipboard to fit the width of the sack.  Place inside sack and this makes for a sturdy way to tie the fabric strips or any ribbon around a sack. 
I'm in love with these wrappings kits I created this season.  I created them with mason jars in mind but they totally look just as cute wrapped around a flat sack. You can see how I used a kit to wrap a jar of jelly in this post. You'll be seeing lots more in the shop with different themes.  This one is the Modern Wrappings Kit and includes all you see below.  There's 5 of everything so you get 5 different wrappings for mason jars, sacks, etc.  So for this kit, you use a fabric strip, a doily and a tag.  
 This is the Vintage Wrappings Kit.  Same idea applies, the embellishments are just a little different. You can always purchase the White Doilies and tags separately in my shop.
 For my packaging I also used the Candy Cane Baker's Twine from the shop.  It's always a staple item come holiday time.
 I usually string on a few Jolly Jingle Bells too.  These are always a great hit every season...these are running low in the shop so grab some while they last.
 My favorite Noel Notions item this season are these Candy Cane Clothespins.  I hand paint the strips then add a beautiful frost.  I love these with the notebooks and use them to clip together lists, coupons and to attach to gifts with a tag.  These are also selling quickly so add a few to your shopping cart soon.
Hope you enjoyed a glimpse at my notebooks today.  There's still lots of Noel Notions in the shop, some items are close to selling out.  Thank you so much for all of your orders so far.  Orders placed up to today will be shipping out today and tomorrow.  I hope you enjoy all of your goodies....to me there is nothing as sweet and special as a handmade holiday.  See you again soon. 

November 4, 2014

Tray Tuesday....annual holiday notebook supplies

Well Halloween came and went & November just snuck right up on us.  Now that all the pretty leaves have blown away and the temperatures get cooler, I tend to go into hibernation mode.  I'm not one to decorate my home for the holidays until after Thanksgiving but as a crafter and little shop owner, I do like to get a head start on the holidays. I've been collecting items for my annual Noel Notions that will be trickling into the shop soon and then there's my annual holiday notebooks.  I like to create them every year for my lady friends.  They're a fun little pre-holiday gift that I give out in November, just in time to start making those little shopping and gifts lists + maybe some holiday menus or crafts to make.  You can click on the "notebooks" label at the end of this post to scroll through lots of my notebook posts.  

Today I'm sharing a fun bundle of goodies for Tray Tuesday.  Tis the season for gathering up the holiday supplies. I grabbed this old, wire office basket which is perfect for holiday all my items. 
When I start a project, I tend to gather and collect.  I like to shop my stash of crafty supplies and sometimes I like to order something brand spankin' new.  Each year I like to order a few supplies that are selected specifically for my holiday notebooks.  This year I chose the Webster's Pages Gingerbread Village line by Adrienne Looman.  It's a whimsical little collection with the most delightful holiday colors and patterns.  
 Some of my staple shop items always make it into my supply basket.  Here I chose Small Clothespins, Small White Tags, Small Manila Tags, Medium Manila Tags, White Dainty Doilies and Gold Foil Doilies.  It's good to always tuck a few of these in because they're just good old stand bys for me.
 I also added in some holiday colored Washi tapes, gold scalloped tape and some vintage ribbons from my stash.
The papers will steal the show this year.  Just look how cute and whimsical these are.  You can google the line and various online shops pop up that carry these supplies.
Can't wait to get started on these little gems as they are always fun to package and hand out to the ladies.  Have you started on any holiday projects?  I'd love to hear what's on your list this holiday season.

In other crafty news, the Gossamer Blue 2014 December Memories Kit is now available.  It's jam packed full of holiday crafty items + there is a 6 x 8 album that goes with the kit.  We just added a December Memories 2014 section to the forum so we'd love to chat it up this season with you.
We teamed up with Elle's Studio to bring my sketches to life for the stamp set for the kit this year.  I can't wait to start working on my album.  I'll have posts of my process in the near future.
Also, I'll be joining in on the Winged Blog Tour this week with Bonnie Christine.  She designed this wonderful fabric line for Art Gallery Fabrics and has invited me to share some creations with you.  Check back this week for my post.  You can follow along the blog hop each day for 31 full days right here.  Lots and lots of good inspiration here.
Here's a little peek at the fabrics I'll be working with:
Sooooo....lots of good stuff to come.  I hope you'll pop back in often.  Also, I post a lot more photos on Instagram.  You can follow me on the left hand side bar.  :)  See ya back here soon.

October 21, 2014

Tray Tuesday...creating my own little mini kits

Hey it's Tuesday....and I have lots of goodies piled up on a tray.  Perfect!  Today I'm sharing my own little mini kit I created using items from the Gossamer Blue Gramercy Road collection and some items I created for my Rose Gold Craft Kit
 I like to nestle all the little bits and pieces onto a tray so that I can keep everything contained in one spot.  If I want to move my tray around my craft room I can.  It also makes it easy when I just have small spans of time to work on projects.....I can just shop my little stash and finish a project in 20 minutes or so.
 My tray gets a little scattered looking but I know that everything coordinates and I just love to dig around for just the right embellishments.
 Little tags and stickers here and there.  It's like a little contained mess.  Probably the way just about everything in my house.
 I'll keep this tray out for a while until I deplete most of this stash.  My goal is to work from now until Christmas time and create gifts for family and friends.  I have some homemade canned goods that I want to pair up with notepads and cards and such.
 I have these lovelies close by my tray too.
 Paint if I want to get a little more artsy and some lovely ribbon, just like the colors you get in my kit.
 These are the fabrics that I used for the fabric flags in the kit.  I just love those little things and will be showing you some ideas of how to use them in a future blog post.
 For the papers, here's a little tip from me....sort through all the papers you get in kits or purchase with a collection....then turn up the sides you like the most.  It makes it easy to see how you'd like to combine patterns and colors.
 Here's my first two creations from my tray of goodies.  I always purchase notebooks, usually from Target, and keep them in a locker basket on a shelf.  Once in a while I'll dig through the basket and pull out something that coordinates with the products I'm using.  Everybody loves notebooks so it's fun to see how I can pretty them up.
 From my Rose Gold Craft Kit I used paper clips and the gold doilies.  Other items were from the Gramercy Road collection, including the stamped image, stickers, dies, paper and enamel dots.
 A fun little notebook to set out on the counter for writing daily lists.
These two will be kept in a basket that will be filled with coordinating cards and gift sacks.  It will be so fun to package these up come Christmas time.
 Here's the full Rose Gold Craft Kit.  There's just a few of these left in the shop.  Some of my favorites from the kit are the handmade fabric paperclip flags, the burlap tag and the yards and yards of pretty ribbon.
Hope you're having a crafty day, my friends.

September 16, 2014

Tray Tuesday: Shopping your stash....and can it help determine your style?

Note: I just rambled off thoughts while writing this post.  I hope you make it all the way through and let me know what you think.  

It's Tray Tuesday and I have a post today that will hopefully generate some thought and discussion. I'll be participating in May Flaum's Supplies On Hand class where you'll learn more about making the most of your crafty stash. Click on the link and you'll be able to read all about and sign up for class.  It's 10 full days of 35 new, never seen before projects.  

While preparing for the class I got into a really thought provoking conversation with myself. So instead of feeling like a whacko, I thought I'd share my thoughts here on the blog and see what you have to say.  Shopping my crafty stash is really one of the most fun things I like about crafting.  I have an entire craft room that is full of wonderful crafty items that I've purchased or have gotten from being on Design Teams.  Plus I have the items that I keep on hand to sell in my online shop

It seems that when I get new crafty items, I tend to let them "season" a bit.  I don't know why but I like to look at the items, admire them, arrange them on cute trays or set them out to view for a while.....but I never seem to tear into that brand new item.  Maybe it's the hoarder in me, maybe I fear that the item will become extinct.  Maybe it's like a new pair of tennis shoes and that I just want to keep the items looking new.  Whatever the case, when I DO go back to those supplies after a while, I get really excited.  

Fast forward to preparing for May's Supplies on Hand class. I was assigned my techniques to cover then I went to work shopping my stash.  First, I thought it would be fun to make a shopping list of the supplies I wanted to gather.  

My list looked something like this:
ledger paper
washi tape
seam binding
stamps
manila tags
patterned paper
flowers/nature stuff
clothespins
watercolors/paints
stencils
glitter
paper clips
buttons
office supply items

Then when I shopped my stash, it looked something like this:
Then I got to thinking.....hey, these supplies look just like my style.  Like the colors and patterns on these patterned papers.  Some of that October Afternoon is "vintage" era and it's still my favorite.
Office supplies, yep these always make it onto my projects.  Love to use manila tags of all sorts, paper clips, ledger paper, book paper.
Then these goodies came out...vintage buttons, small clothespins, and washi tape.
Glitter of all colors came out too...
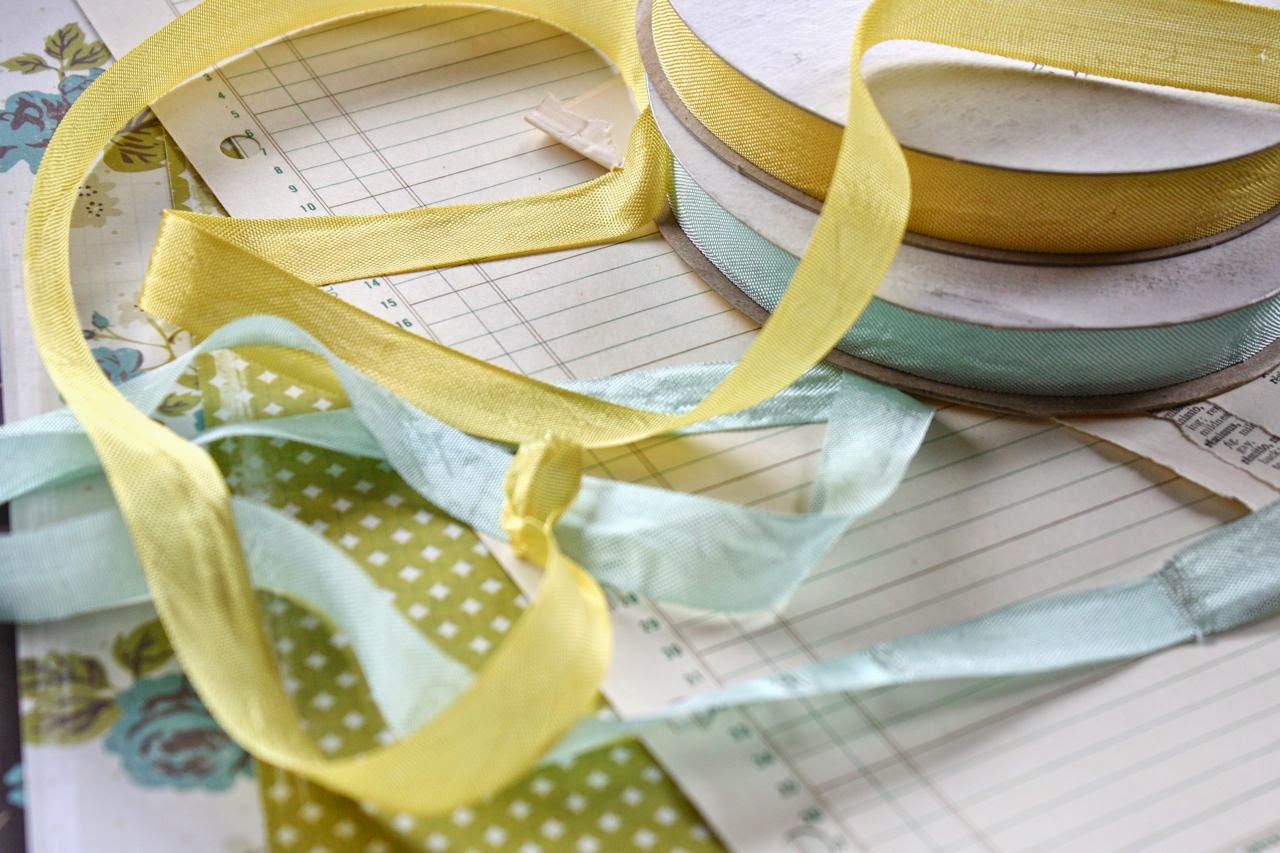
Ribbons, especially seam binding...I have this stuff for years.
Then the art supplies....paints and brushes.
When I took a look at my shopping tray (instead of shopping cart), I really saw "my style" just sitting right there in front of me.  The colors, the patterns, the types of products....they all make up my style.  Who knows really what that style is because I just tend to make what I like.  A Mish Mash, I guess is truly my style.  But I do love the florals, certain colors, white or neutral backgrounds, light ribbons, paints, office supplies......these items tend to pop up on my projects all the time.

So then that got me to thinking.....can shopping your stash help determine your style?  Can it help reinforce your style or get you back on track to what you do best? I think so, friends.  Here's my thoughts. So many times we are purchasing the "next best thing". We get caught up in what is brand new, what Suzie Q is using or what is trendy.  Although this is fun and exciting and I certainly do it too, does it help us stay true to what our style is or what we do best with our crafty supplies. Although I like to change things up at times with crafty projects, it seems like I have found my little niche.  I have found the products that I love to use the most.  I have a color palette that I tend to stick to.  I have my go to supplies that are always being pulled out.  I tend to make kit items work for me and that look like "Mish did this."

By shopping my stash, it was a great creative exercise that really opened my eyes as to what products I love, what products I use the most.....what my style is like even though I'll stray once in a while.  I think shopping your stash and using your supplies on hand could help you too.  Are you looking to define your style?  Maybe clean out some of the bulk in your crafty stash? Do you sometimes feel like you try to be just like "so and so" and it gets frustrating because it doesn't work out?

Here's a few tips I have to offer that I jotted down one night in bed just after shopping my stash for May's class.  I hope they're helpful and that maybe this shopping your stash exercise can get the creative wheels to spinning.

1.  Make a list of "things I like".  List the crafty supplies that you always reach for, that you love and always use.

2.  Go shopping in your craft room.  Literally shop your stash.  I love to keep a stack of empty trays, muffin tins and wood boxes handy just for this occasion.  By keeping a little shopping "basket" handy, you'll always have something to pile up products on and arrange them for little projects you're working on.  Grouping items together in one spot is good.

3.  Look at the stash of items you shopped.  Take a photo and study it like I did in my first photo.  Compare these items to your shopping list you made.  Do you see a pattern of what you use most often?  Do you see similar colors and patterns popping out at you? Are there repeat items that always end up on your projects.  Do you see your "style" shining through?  It's kind of amazing and gratifying to see your style develop right there on a vintage tray.

4.  Look through your older projects like a stash of cards or scroll through your blog projects.  Do those projects have some of the similar items you shopped for on them?  If so, that's your style shining through.  Don't worry about those who say, "Your stuff always looks the same".  It looks that way because it's your style. You do similar things when you've finally figured it out.

5.  Look at the items you didn't reach for in your crafty space.  What do you never reach for? Are those items just not your style? Or are they just items you want to keep around just in case?  Evaluate those items.

6.  Reduce your stash to items you really love and those other items you might use. If it's a definite NO, get rid of it, friends.  That stuff is weighing you down.  It makes you feel guilty.  Is it 10 years old and you love it?  Then keep it. Is it 6 months old and you'll never use it?  Get rid of it.  I had a talk with myself to GET REAL. It was time to get rid of some stuff.  When I did, I loved it.  It felt GREAT.  I started to do this in the rest of my house....talk about feeling free and light and totally awesome.  I might  share more on the household topic later.

7.  Stop shopping for items you don't love or won't use.  Think before you buy.  Just because it's trendy or Suzy Star is using it, doesn't mean you have to.  I used to shop for tons of patterned paper and supplies, not knowing what I would use them for.  Now when I shop, I feel totally satisfied if I find a few sheets of patterned paper or a new marker.  I know I'll use it and less is more when you totally love something.

8.  Sort and purge often.  You'll feel better.  Once you get over the guilt of spending that money on something, you'll be okay.  Sell it, give it away, whatever you have to do.  A good cleaning out is good for the heart and soul.  Getting rid of that visual clutter is so freeing.  It's okay.  Keep a basket or box handy that you can toss stuff into.

9.  Keep doing what you love.  If you feel you don't have a style, that's okay. Just make what you like.  Don't worry what others are doing.  It's not a competition.  Think to yourself, "Would I make this and like it if it was just for me?" So many times, we wonder what the social media world will think.  Who cares, just make stuff.  Create for the sake of creating.

10. I don't know.  I just feel like this list needs a #10.  I hope you find some thought provoking information today.  I hope you leave a comment and read through the others.  Otherwise, I'm going to have to go back to being a whacko and just talk to myself.  ;)  Enjoy your creativity, friends.  We have a wonderful thing going here.


September 2, 2014

Tray Tuesday...Gossamer Blue September Kits, Painted Label Tutorial & Projects

Today I have a post just loaded with fun photos and projects.  It's Tray Tuesday and so many of you have commented how much you like this feature.  Thank you so much and I'm happy to have you back today.  It's release time over at Gossamer Blue so today I'm featuring a few projects made with the September Kits.  It was a fantastic month of kits and most have already sold out.  So if you were lucky enough to grab a few kits, I'll have lots of inspiration for you this month. Let's get started. 
First, I started out working on some leftover stickers that were mostly used up for other projects this month.  These two sheets were from the September Main Kit which is just a favorite of mine.  I also pulled out the wood labels and Kraft paper labels from this kit.  Labels...they just make me happy, how about you?
 A favorite technique I like to do is get a little artsy with my labels and paint some white Gesso on them.  You can see that Gesso is like thick paint & mine is even getting a little goopy.  I just added a little water using a flat brush.
 Then I just applied the Gesso to the various labels using even brush strokes.  A think layer is all that is needed.
 I applied the same type of brushstrokes to some label stickers.
 This paper from One Little Bird in the Main Kit was my favorite this month.  I'm down to scraps so I punched some circles and applied more Gesso on top. I let all the labels dry for a while.
 I moved on to typing some sentiments with my vintage typewriter and journaling cards from the Gossamer Blue shop.
 I trimmed the labels down and added pop dots to the backs.
 Next I paired sentiments with labels.  The Gesso background just makes a happy little place for the popped up sentiments to sit.  I keep these on hand and use them for lots of projects like cards, tags and gift bags.
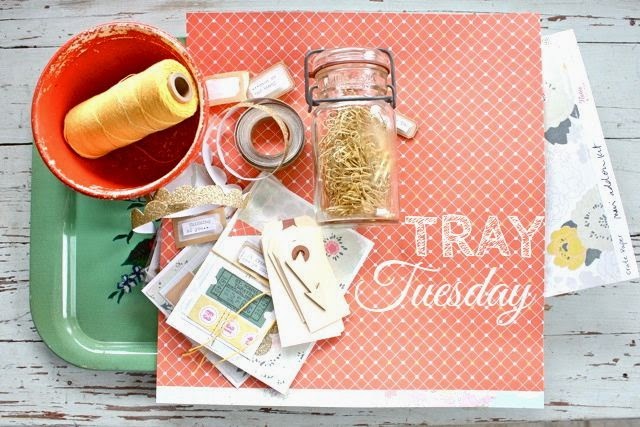
So back to Tray Tuesday....I grabbed my September GB Main Add-on Kit and dumped it all onto a vintage tray.  This one is another pretty mint green tray from my stash.  
 This kit was just one of the awesome ones this month.  I particularly love the patterned papers in this kit. Feeling Fall-ish, I grabbed some buttery yellow twine and a chippy orange bowl to hold more crafty goodies.
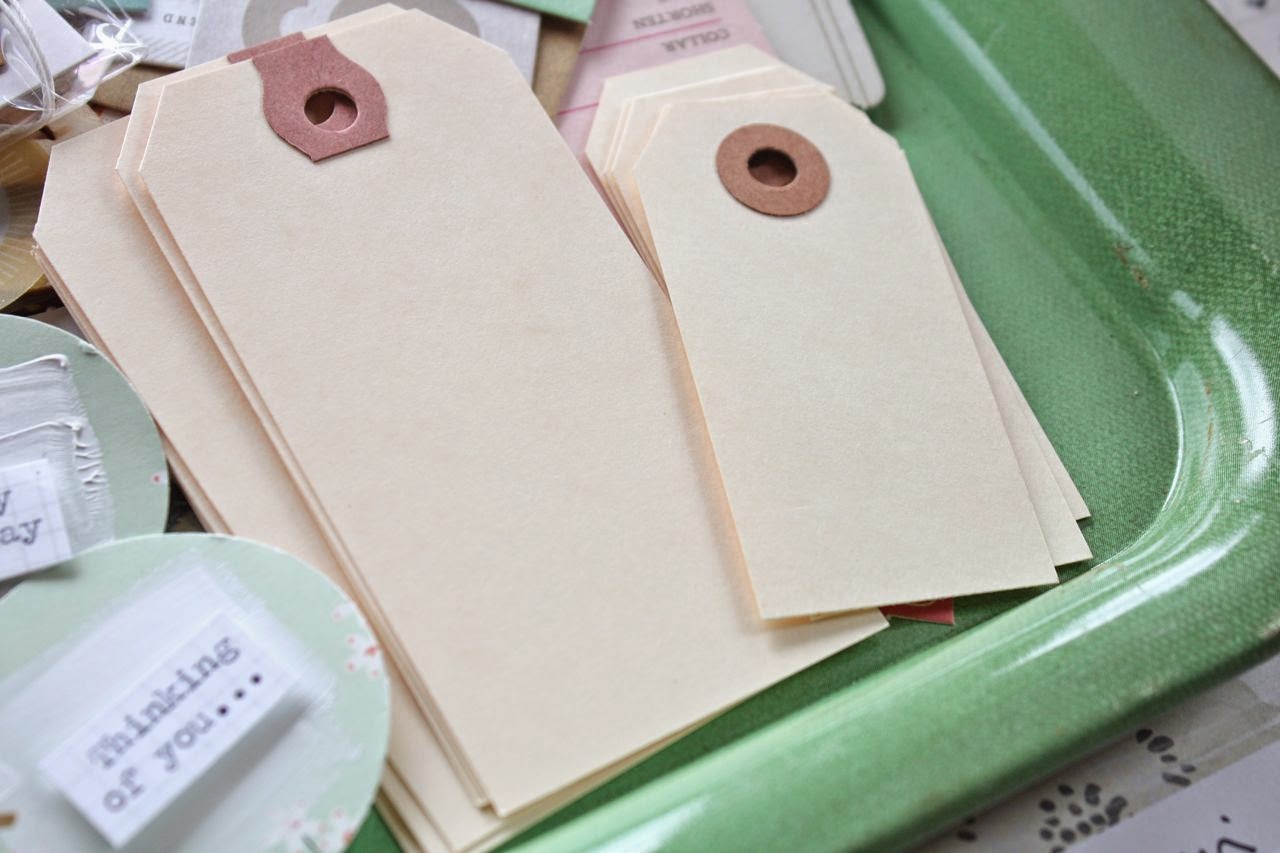
 Blank tags are always an essential item in my crafty arsenal and today I reached for some Medium Manila Tags and Small Manila Tags from my shop.  I've got lots of styles to choose from.
 I tucked in my embellished labels too.
 This gold decorative tape from the September Add-on #2 Kit is so sparkly and fun.  I had to throw it on the tray too.
 All of these too.....tags and paper embellishments galore. You can get a peek at how pretty this floral tray is.
 Next I was read to create.  I started out with some greeting cards.
 That floral paper was the first sheet I cut into.  I love the muted colors and vintage feel.
 Using 3 x 4 blank journaling cards from the shop I stacked on some tags and stitched them down the center.  My embellished tags were stuck on top.
 Using that favorite orange patterned paper I created wonky little photo corners.  I love to do this when I need a little balance on one side of a card.
 I tied on some of that pretty twine, always leaving the tails long....and tucked some of the gold glittery tape under the tags.  Into my stash these go.
 I also created a quick tag by just layering on patterned paper and vintage ledger pieces.
 I like to use messy little bundles of thread under an embellishment to add interest.  I also added a gold paperclip and wood button.  Just perfect to tape onto a shop package that I send out or perhaps on Large Kraft Sack with a little treat tucked inside.
Hope you're feeling inspired to create.  Thanks for stopping by!
Related Posts with Thumbnails