
I'm also showcasing Vintage Picnic + Vintage Picnic Sentiments....a fun set that Nichole and I collaborated on a while back. And now it's even better because this month Papertrey released the much requested Vintage Picnic Basket die.
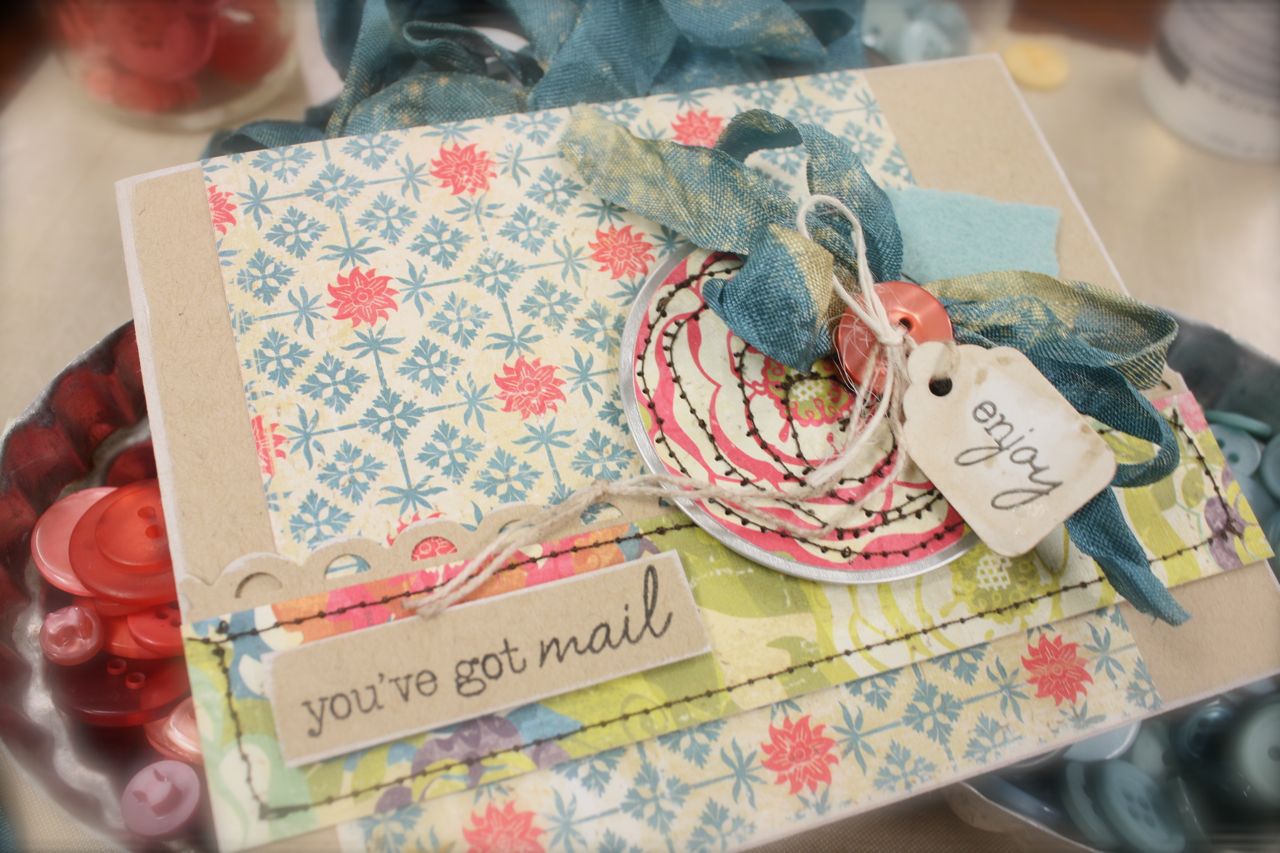
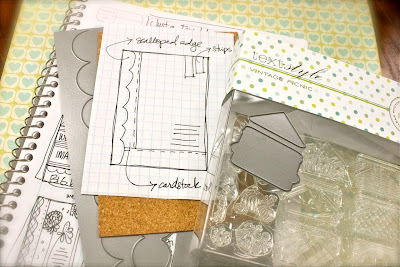 To start out I created two cards using the same basic supplies...scalloped border dies, Vintage Picnic + Vintage Picnic die, PTI sentiments + patterned papers.
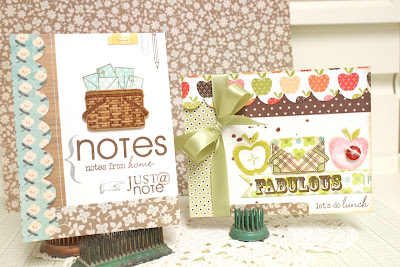 My first card follows the sketch pretty closely. I had a tiny version of this sketch doodled in a notebook. Many times I'll take a sketch book to bed with me at night or bring a pad of grid paper in the car with me and sketch while waiting on the reds. As you can see the elements on my card do not vary much from the sketch. A few fun things to note are the combination of sentiments that have the words *notes* in them. I dug out my Take Note set for a few more sentiments to mix + match on my card. If you zoom in you can also see that instead of paper strips or tape I used a paperclip and pencil stamp in the upper right hand corner of my card. The idea behind a sketch is to interpret it however you wish. Follow it closely or mix things up a bit with some creativity.
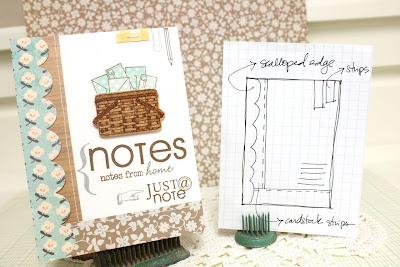 My second cards uses the sketch turned sideways. Same basic idea and supplies but this time I added die cut and stamped apples from Fruit Fusion: Apple along with a fun sentiment from Say It With Style. The little strips on the bottom left were replaced with a strip of patterned paper that was notched on one end + has the sentiment stamped on top.
 Next up I used the sketch to inspire some scrapbook pages. I'm just thinking on a bigger scale here but same basic idea. Many of my stamped, focal images are now photos. This 8.5" x 11" page uses the sketch in it's original orientation.
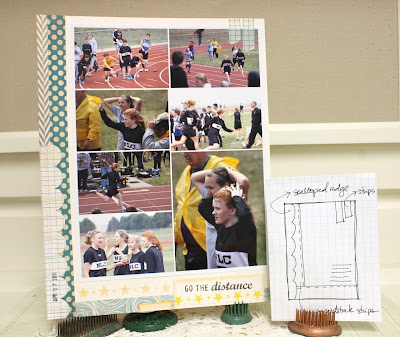 Just a few strips of patterned paper + a scalloped border die + Piney's All-Star Team and All-Star Team Additions stamp sets. The sentiment is stamped on a Label Basics stamped die. Perfect for a page insert in my Project Life scrapbook album.
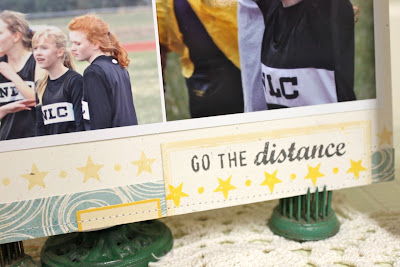 And here I used sketch turned totally upside down to the do the back side of the above layout. All photos in my two layouts feature the girls' track events so I wanted to keep the supplies fairly similar and easy.
 To start out I created two cards using the same basic supplies...scalloped border dies, Vintage Picnic + Vintage Picnic die, PTI sentiments + patterned papers.
 My first card follows the sketch pretty closely. I had a tiny version of this sketch doodled in a notebook. Many times I'll take a sketch book to bed with me at night or bring a pad of grid paper in the car with me and sketch while waiting on the reds. As you can see the elements on my card do not vary much from the sketch. A few fun things to note are the combination of sentiments that have the words *notes* in them. I dug out my Take Note set for a few more sentiments to mix + match on my card. If you zoom in you can also see that instead of paper strips or tape I used a paperclip and pencil stamp in the upper right hand corner of my card. The idea behind a sketch is to interpret it however you wish. Follow it closely or mix things up a bit with some creativity.
  My second cards uses the sketch turned sideways. Same basic idea and supplies but this time I added die cut and stamped apples from Fruit Fusion: Apple along with a fun sentiment from Say It With Style. The little strips on the bottom left were replaced with a strip of patterned paper that was notched on one end + has the sentiment stamped on top.
  Next up I used the sketch to inspire some scrapbook pages. I'm just thinking on a bigger scale here but same basic idea. Many of my stamped, focal images are now photos. This 8.5" x 11" page uses the sketch in it's original orientation.
 Just a few strips of patterned paper + a scalloped border die + Piney's All-Star Team and All-Star Team Additions stamp sets. The sentiment is stamped on a Label Basics stamped die. Perfect for a page insert in my Project Life scrapbook album.
 And here I used sketch turned totally upside down to the do the back side of the above layout. All photos in my two layouts feature the girls' track events so I wanted to keep the supplies fairly similar and easy.
  I used a Label Basics die to place the sentiment from All-Star Team Additions plus a few additional stars from All-Star Team.
  So as you can see, sketches are such a valuable tool to have on hand. I'd like to say that all my sketches are in one notebook....but they're not. I'm a notebook-aholic. I have lots and lots and I tend to just pick up the closest one and start sketching.
 How do I come up with sketches? Most of my card sketches are my own original ideas but I also like to find sketches from websites and blog. Magazine ads and little flyers also provide great inspiration. Sometimes I create card ideas from scrapbook layouts I see....one little thing will spark an idea. You just never know when a good sketch idea will come along.
Feel you're not creative enough to make your own sketches? That's okay...there are tons of blogs and websites and books available that already have sketches. You can join in on some sketch challenges too if you're in a rut. Sometimes I feel that it's not new tools or cool, new papers that we need.....we just simply need a fun new idea. Sketch challenges are a great way to break you out of your typical mode of creating too. You might just find a new favorite card or scrapbook page layout to use. And remember to think outside the box. Get fun and funky with your embellishments....use only a part of the sketch if that's what you like. Rotate and flip the sketches. It's all good.
I hope you try out my sketch and maybe start creating your own sketch notebook if you're feeling creative. You can see a few more of my sketches at this link too. Be sure to link up your projects in my comments section. I'd love to see them.




 Posts
Posts

