Showing posts with label recipes. Show all posts

January 5, 2016

The recipe project..

For Christmas, I gave my girls a recipe box filled with blank recipe cards.  The wood recipe boxes are from One Canoe Two.  
 I purchased sets of recipe cards from Rifle Paper Company.  Great quality here and I love the designs.
 I purchased recipe box dividers and more recipe cards from One Canoe Two. More whimsical designs and great quality. I was lucky enough to purchase the recipe boxes and all of the recipe cards at 50% off during the Cyber Monday sale after Thanksgiving.
 My goal is to actually keep the recipe boxes with me until my girls move out and start cooking on their own.  I'm making an ongoing list of recipes that I want to hand write on the recipe cards and add to the recipe boxes.  I'm starting first with family favorites.  Some recipes may end up actually photocopied or printed and added to a three ring notebook. I'm using my Get To Work Book to keep track of everything.
 Then one by one I'm hand writing out some recipes X 2.  Then I place a recipe into each box.
 One of my girls is a good cook and could actually survive on her on by cooking her own meals.  One of my girls would love for Mom to cook for her forever and would probably live on take out food.  Both are always willing to give me a hand in the kitchen though and along with their dad, we sometimes bake or cook up something special together.  They're both excellent dish washers, their dad, not so much.
My hopes is to keep the hand written recipe card a "thing".  It's so easy just to grab a recipe off of Pinterest and never print it out.  I want our tried and true family recipes to be kept alive and passed down for generations.  On each hand written card, I always write who the original recipe came from or where I first tried it.  I also add serving tips and tricks to the backs of the recipe cards.  Some day the girls will have a treasured gift.  They may not think much of it now or have much of a use for it, but I know one day they'll love this gift even more.

Note:  If you have a source for printed recipe cards (not printables), I'd love to hear from you. Please leave your comments at the end of this post.

March 4, 2015

Butter Crisp Pie Crust + sweet & savory pies

This is the year that I'm trying out lots of pie recipes to find that perfect pie crust and the best sweet and savory pies around.  My Jordan has been requesting a homemade cherry pie forever so it made it to the top of the list.  

I found a cherry pie recipe and thought it sounded pretty good.  It's called The Best Cherry Pie Recipe....how could I go wrong?  The blog post with the recipe is here and the Pinterest link is here.  The pie filling did not fail.  I  did tweak it a bit to add my own special touches but the original recipe is pretty darn good.  Thick and sweet and tart.  It beats canned pie filling any day.  I started with these canned Oregon cherries.  
 I made the pie filling just as the recipe called for and it turned out beautifully.
 Now on to the pie crust.  I've tried several crusts over the past few months and just wasn't totally satisfied with them. I finally found the pie crust that my mom uses.  She makes the best pies so I was hoping this crust would be the one.  I gave it a try and filled my pie to the brim.
I even cut out a cherry shape to top my pie.
The crust baked up so nice and brown.  My mom always brushes her pies with milk and then sprinkles on sugar. This makes the pie brown nicely and it has the sweetest little crunch to it.
I'm thinking this looks pretty good and at this point we couldn't wait for the pie to cool.
Tada.  It was good, folks.  The crust was flaky but tender.  The pie filling was so thick and sweet and tart.
We all gave it two thumbs up.
I also tried the crust out in a savory pie.  This is Pioneer Woman's back and egg quiche from one of her cookbooks.  It was equally as good and the pie crust was buttery and crisp and yummy.
So I think I've found my perfect pie crust....for now anyway.  I needed about a half more of the recipe to fill my larger pie plates so I suggest doubling the recipe and keeping the leftover crust for little sugar and cinnamon roll ups, etc. I'm not sure if pie pans were smaller back in the day or what but this recipe was a little hard to get a full pie out of it. This pie crust is unlike any other recipes I've seen as it has milk in it.  I think next time I'll try the butter flavor shortening to see if that makes a difference in taste.

Here's my mama's recipe:

Butter Crisp Crust

by Michelle Wooderson

2 cups flour
2/3 shortening
3/4 teaspoon salt (or to taste)
3 Tablespoons butter
1/3 cup milk (plus a little more for brushing the top of the pie)
Sugar for sprinkling

Mix flour, shortening and butter together until consistency of cornmeal.  Stir in the milk.  Chill dough in refrigerator for easier handling. Assemble pie and brush top with milk.  Sprinkle with sugar.  Bake for 20 minutes at 425 degrees then lower the oven temperature to 375 and add a pie crust shield to protect the outer edges of the crust from burning.  Bake for another 30-40 minutes, until the crust looks nicely browned and the juices bubble up thickly.  Remove from oven and let cool for several hours before eating.  Recipe is for a two crust pie but I suggest doubling and saving the excess for another use.

Let me know if you give it a try.  I can't wait to try more pies now!

December 2, 2014

Tray Tuesday.....Spiced Tea Mix

Hey there, I'm back today with a fun Tray Tuesday share.  I've been making this Spiced Tea Mix ever since I can remember.  I use my mom's recipe and it was always my job to mix the tea and store it in the Tupperware container.  I love this stuff and I'm not sure now if it's the actual tea or the memories it evokes that I love so much.  Recently I packaged some up in a gift basket I made for a friend to give to her apartment tenant.  The renter texted my friend and told her how much it reminded him of his mom and that he loved it.  Then our little friend Brayden came over with his brother while I was making a new batch.  He was curious so I made him a cup.  He loved it too.  So I sent him home with a little batch of his own.  Good stuff and good memories happen with this stuff, I tell ya. 
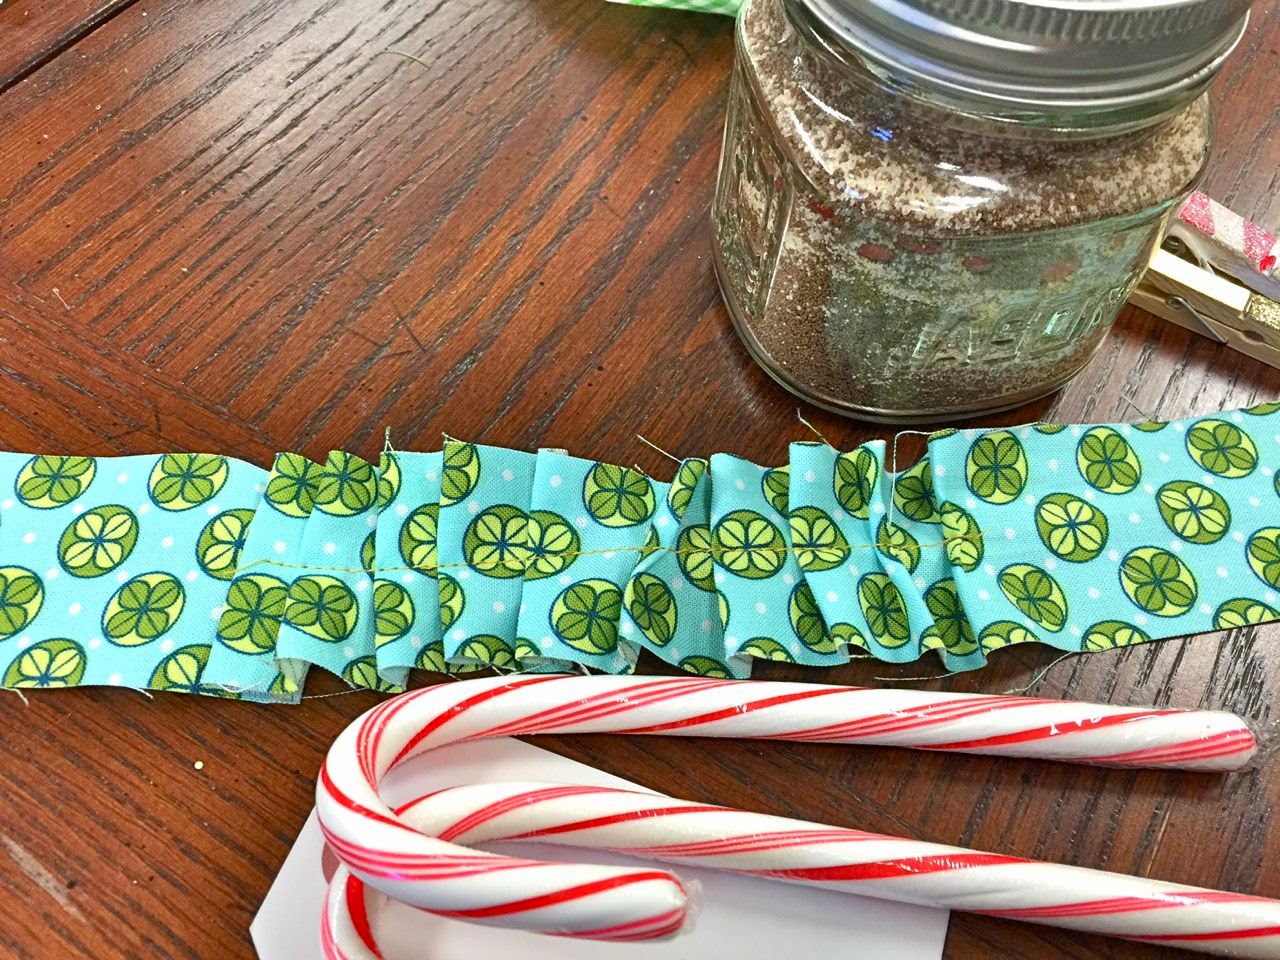
 Sooo...what better gift to give than a little jar of my Spiced Tea Mix.  I reached for a Modern Wrappings Kit from my shop to create my packaging.  I also carry a Vintage Wrappings Kit which uses all vintage fabrics.  I took one of the strips of fabric and ran it through my sewing machine, creating folds as I fed the material through the foot feed.  I left about 4" on both ends plain.
 I wrapped the fabric strip around my jar that is filled with Spiced Tea Mix and some cinnamon red hots.  I added a red sprig from the kit and a Gold Glitter Clothespin for embellishments.
 The ruffled strip of fabric looks fun and festive wrapped around the jar.  I like to leave the lid free of embellishments so it can be screwed on and off with the wrappings left in tact. This way it looks cute sitting out during the holiday season.
 I like these gingham lids from my stash.  They add an instant holiday feel to my jar gift.
 I tied a few candy canes up with a white tag from the kit and some Candy Cane Baker's Twine. I sat the jar on a white doily from the kit. I sat all the goodies on a pretty, vintage tray.  Just the perfect gift for a teacher or friend who comes over to visit.
Here's the entire Modern Wrappings Kit from my shop.  You can see my previous posts for some additional wrappings ideas.
The Gold Glitter Clothespins come in a set of ten here.
 You can find 5 yards of the Candy Cane Baker's Twine here.
I love to give handmade gifts and wrap them up with unique wrappings.  This year though I'm all about keeping it simple.  This little gift jar took about 10 minutes or less to assemble, including sewing time.  Here's to a handmade Christmas.  Thanks for stopping by today. 

August 28, 2014

Honey Beer Bread.....you will never need another recipe.

Edited:  When you link to the recipe it states the amount of beer is 12 ounces.  Hope that helps. 

Sharing recipes is a wonderful thing, isn't it?  I love it when I go to a community gathering or family event and someone brings a delicious new recipe.  Most times, the cook is willing to share the recipe and I go home with a new recipe for my files.  I feel that Pinterest is wonderful way to share recipes too.  I've gotten so many good, good recipes from there.  I always feel inclined to share my favorites.  

For years I searched for the perfect beer bread recipe. I remember going to those Tastefully Simple parties and always thinking that those boxed beer breads they used for sampling the dips were the best. But they were pricey and as someone who likes to make recipes from scratch I didn't want to keep buying the boxed mixes.  My searches always came up empty and believe me I've tried lots of beer bread recipes that failed.  I think I would have just been better off drinking the beer and calling it good.  

But fast forward to today and I have the perfect beer bread recipe.  Seriously, this is good stuff. The recipe is in my Recipes Bread Pinterest board and here is the link to the Honey Beer Bread recipe
 When we have friends over it seems they leave their beer in our garage refrigerator.  Since we are pretty much social drinkers those leftover cans might sit for months.  I usually use up some of the can by making a double batch of the Honey Beer Bread.  I always snicker when I crack open a beer, or two,  at noon. The husband comes home from work and sees empty beer can scattered about and sometimes wonders.....
 Here is the Honey Beer Bread that I made yesterday.  Can yo see how moist it is?  Other beer breads that I tried were dry and crumbly and just tasted like yeast.  These loaves are soft and moist and the honey gives them a slightly sweet taste along with the yeast from the beer.  Yeast....or whatever it's called.
 The top and bottom crusts, just look at how golden they are.  I use a full stick of melted butter for each recipe.  I pour half in the bottom of a sprayed bread pan and then pour half on top.  Fresh from the oven the loaves are slightly crunchy with a buttery flavor.  THE best part.
 For this loaf I added in candied jalapenos (recipes can easily be found on Pinterest) and a sharp cheddar cheese.
 For this loaf I added some fresh dill from my garden and some sharp cheddar cheese.
 Cheese and other additions add so much flavor to the beer bread.
 The possibilities are endless for the additions.  You could also do a bacon/cheddar combo, any herb you like or anything you can think of as long as it will hold up well in the bread.
Of course the plain version is pretty darn good too.  All you really need is REAL butter to top the slices off.  The loaves hold up well and last for days.  I always like to make a double batch, in two separate bowls, and give one as a gift.  Good stuff right here, folks.  Hope you give it a try.
Related Posts with Thumbnails