
It's Workspace Wednesday time and today I'm sharing how I created my own watercolor palette. I've had these photos since September when I first set up my watercolor palette but I never knew just when or where to share them. My Workspace Wednesday seems like just the right spot.
The reason I wanted to create a watercolor palette of this variety is because I wanted lots of colors, I wanted to be able to refill colors when they ran low, I wanted to be able to custom mix colors right onto a palette and I wanted something that was fairly small and easy to fold up and store or take with me on my travels if I wish.

I researched and googled and looked through tons of photos on Pinterest and I finally found the system I wanted to try. First up was the paints. Although Winsor & Newton watercolors were far and above the preference for good quality from most of my research, it's all about personal preference. I might just add, I'm not a watercolor artist...I'm just someone who likes to dabble with watercolors and maybe someday I'll hone my skills enough to get back into some landscape painting like I did in my high school and college days.
For my watercolor paints, I chose some inexpensive tube paints by Reeves and some from Cotman paints which are from the makers of Winsor & Newton. The Cotman paints are less expensive and include both traditional pigments and reliable synthetic colors that replace some of the more rare and expensive pigments used in the artist grade Winsor & Newton paints. I have since picked up some Winsor & Newton colors and a set of gouache paints to try out. Here's the color palette that I started with, a rainbow variety.

Next up was choosing a watercolor palette. When I first came across these aluminum, empty watercolor boxes my heart skipped a beat. It was like a makeup compact for paints and refillable compartments. The little organizer in me was a happy camper. The particular palette I purchased was the Kremer Watercolor Box. It holds 28 full pans or approximately 50 half pans of tube watercolor paint. If I remember correctly this shipped from the UK and took about a month to arrive. I was originally wanted this Schminke Watercolor Box but it's out of stock all the time. I am very happy with my Kremer box and it was less expensive too.

Okay, so you're asking what the big deal is with these watercolor palettes...or travel watercolor palettes as many call them. The palettes come in lots of different sizes which means the bigger the palette, the more pans they hold. So what are pans, you ask? Pans are the plastic containers which hold the tube paints. My particular palette holds almost 50 half pans which are the little square containers. This means you can add 50 colors of paint. A full pan is the rectangle container which is twice the size of the square pans. So it holds twice the paint in one container but less of them fit in a palette. My palette holds about 28 full pans. These are sold separately from the palette.

Once filled, the pans snap into the metal rows as you can see below. They are held snugly in place by those metal "teeth" so that they don't move around while painting or traveling with the paints. The other great thing you'll see below is that the paint palette has two fold out trays with wells. These are for mixing the paints and creating custom colors. You can also squeeze out paint directly onto these areas and leave them there to dry for even more little palette areas. When done painting you can leave the mixing areas with the paint in them and just keep re-wetting those areas. I prefer to clean up my palette each time since I never know what colors I'll use next.

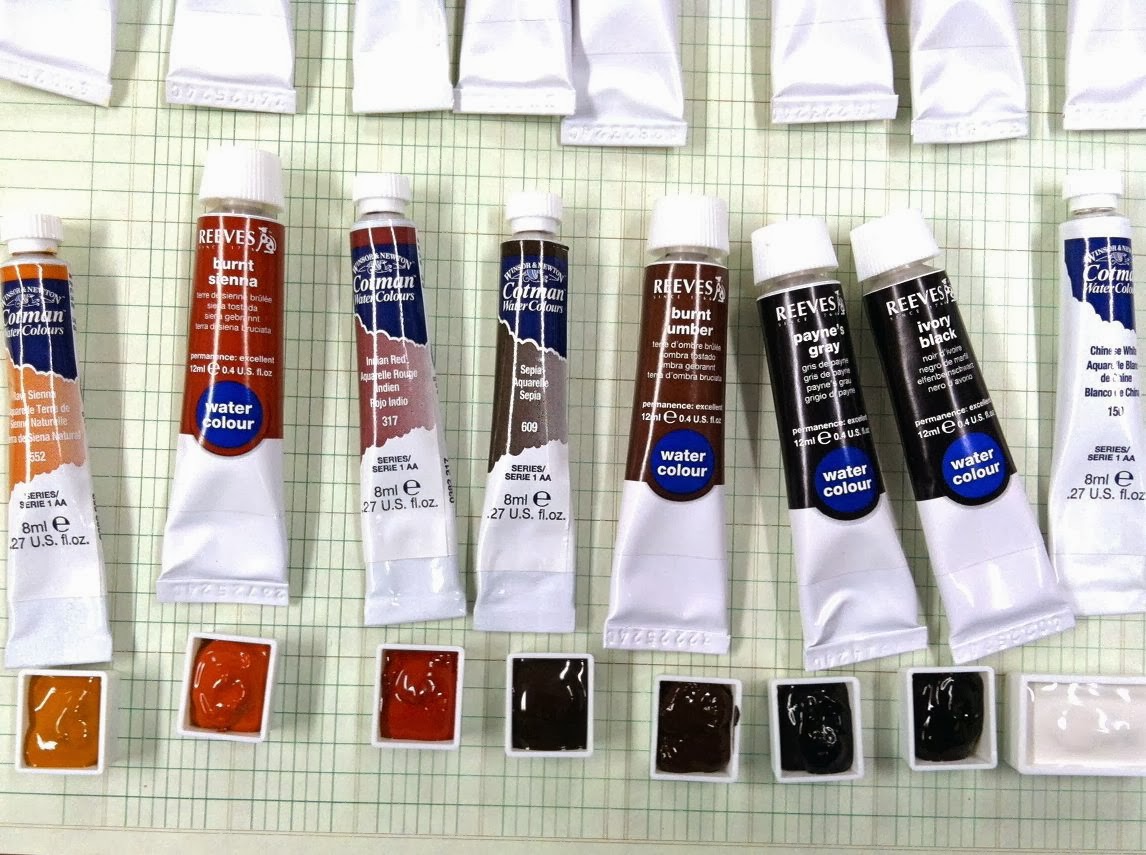
On to filling the palette. You can see the photo above with all my tubes of paint lined up in rainbow fashion. This is how I chose to put the filled pans of paint into my palette. I grouped together browns and blacks....
Here I have yellows, oranges and some reds....

Then purples, blues and more reds that carried over from the photo above...


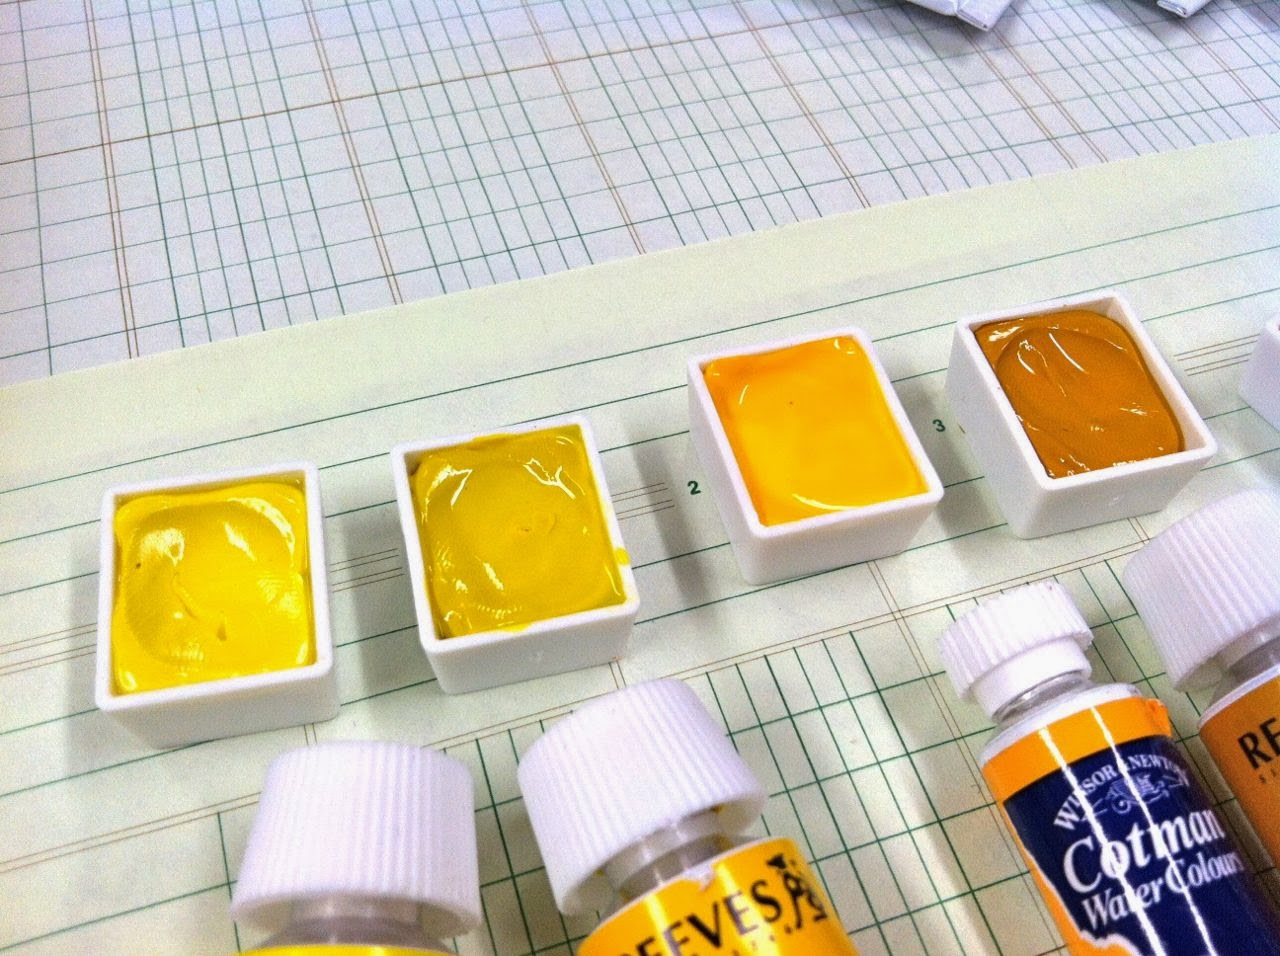
Then it was time to fill the plans. This was such a fun process, just surrounding myself with art supplies again. It's been a while since I lugged my art box and t-square across campus. To fill a pan you simple squeeze the paint into the pan. I would suggest filling the pan even more than what I have shown in the post. They shrink down a bit and tend to crack....and I think if I had more paint in the pan originally that maybe I could have prevented that.

Here's some of the pans all filled. Oh..pretty.

I read a tip through my research about creating a well in the paint pan before the paints totally dried. This created a dip in the paints so that when you added water to moisten the paints, it would not seep over the sides. It was a good tip indeed. To do this you let the paints dry til a little film forms over the paint...but don't let them dry completely. Maybe a few hours for this part.Then I just had a glass of water and some paper towels handy and dipped my pinky fingertip into the water...then pressed it into the filled paint pan. The water helps the paint not stick to your finger so much. Clean between paints and repeat the process.


Then you just let all the paints dry. Mine took several days and I just left my palette open on a safe surface.
I also used a fine tip Sharpie marker to label the brand and color onto each filled pan. Another good tip I found online.

Here is my lovely little palette filled with all the colors I had at this time. You can see that in the middle there is a space for a brush. I saw that some artists keep little sponges in some of the spaces and some keep pencils, small erasers and other supplies they need while painting.

Right before my paints all dried is when they looked their best.

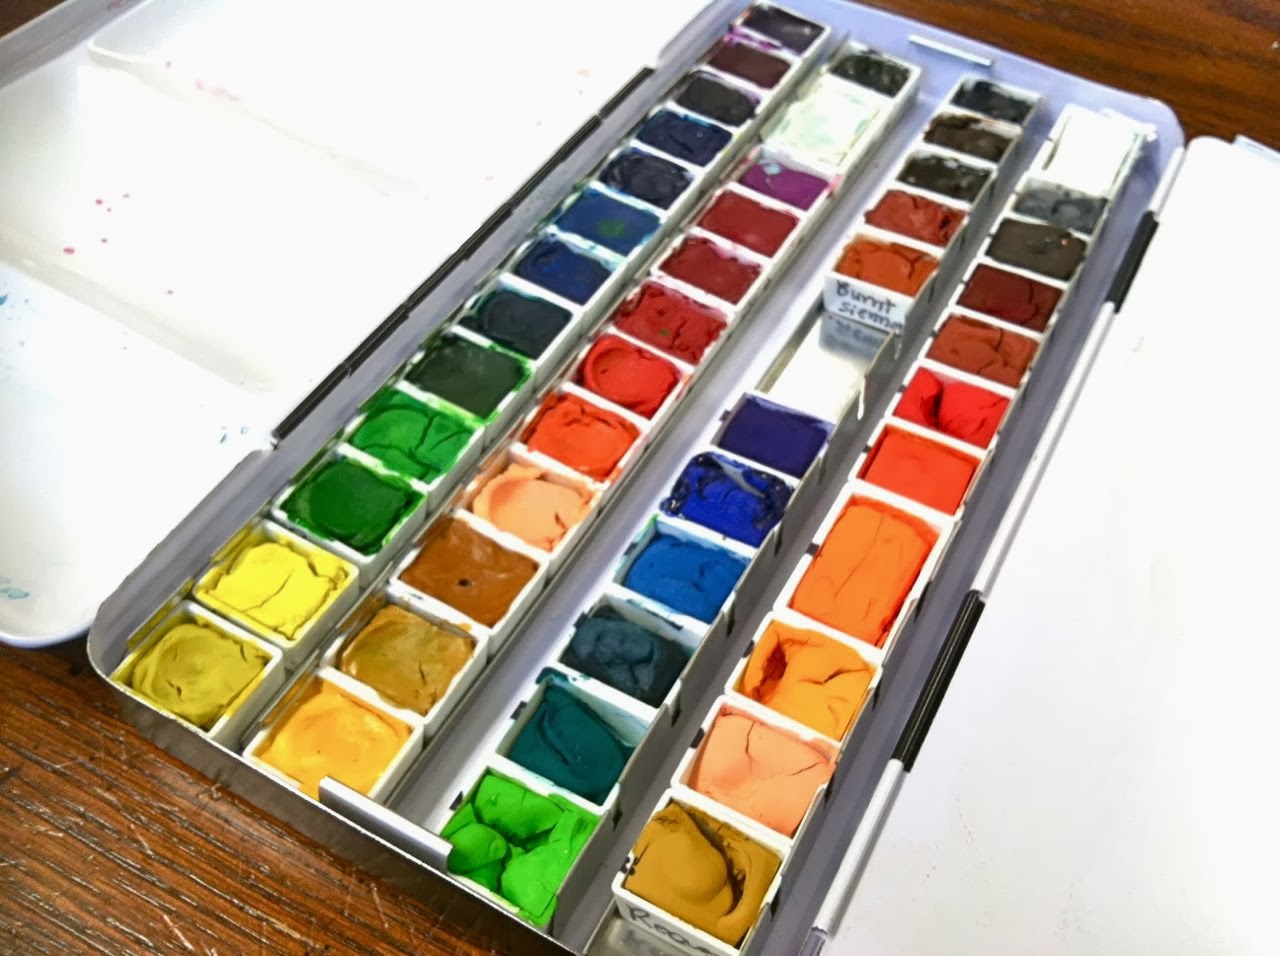
This is what my paint palette looks like today. I've added some more watercolor colors and some gouache colors to my palette since. You can see that some cracking happened. This doesn't affect the paints at all. I added some paints back in to fill the pans a little and that did help somewhat.
Okay, still with me? Here's a photo of my paints in action. I find that I can easily pull out my watercolor palette for even the smallest of jobs. On this day I was working on some flowers for cards. I mixed up the coordinating colors and could easily have my palette and a tin of water nearby without taking up too much space.

If I want to work on bigger jobs, I've found that these enamel coated lids that fit on vintage refrigerator boxes, baking pans or perhaps medical tool trays work wonders. Another tip from Pinterest. Here I was actually using paints from the tube with a shimmer medium.

Another larger job using Hero Arts Daubers with lots of water. These enamel lids clean up wonderfully.

Here are just a few of the ways I've used watercolors. I'm using them mostly for cards and packaging and tags, etc right now. Someday I will be brave enough to paint that landscape. Until then here's a fun packaging idea from this kit.


Finally I'd like to share some of my inspiration for my watercolors. I have two Pinterest boards that I visit often for ideas and just to gaze and get lost in inspiration sometimes. The first board is my Art Studio board where I have lots of photos of watercolor palettes, paint brushes, studios...the photos that just make you happy to look at. The other board is my Watercolor Inspiration board where I have pinned photos of actual watercolor paintings, tutorials, techniques, etc. These are my "some day I will paint like this" board.

(photo inspiration from my Pinterest boards)
I hope you are inspired to try using watercolors in your work. Don't be intimidated, just start. Just pick up the brush and make some puddles of color. It's so fun to just dabble. It doesn't have to be perfect. It doesn't even have to make it to an actual project. The process is just as important as the finished product. Hope you enjoy.


13 comments:
I love this idea!! I can't wait to start my own collection :)
Thanks for sharing!
This is very inspiring. I just started playing with watercolors. So far it's my favorite color medium. I just need to practice, cause I'm not that great at it yet : ) Thanks for the inspiration.
Today I want to tell you thank you, thank you for sharing your art, such appealing pictures, pieces & parts of your family and of course your pets. I've followed your blog for many years, used many of your ideas and always enjoy your posts. It is amazing to me the women that blog and spend so much time sharing with the world just for the love of sharing. Thanks! Your blog is a bright spot in my day!
Shelly M
Amazing post Michelle! Thanks for the inspiration. I bought some watercolor tubes ages ago and have yet to get them out...you have inspired me to get a palette and have it "ready" for use at any time! Going to check out those links for the palette you used!
I agree with Shelly M that I am often amazed at your talent and your willingness to share your home, your family, and yourself with all of us out here in the 'real world'! I appreciate your eye for beauty, your eagerness to try new things, your openness about your adventures and struggles. It's definitely an encouragement to your readers. PS. I cannot get hooked into one more thing right now, but I am definitely going to follow your pins on this watercoloring technique and keep it in the back of my mind for my future endeavors! Thanks again for sharing! Love your work.
What an awesome idea! Fabulous post - love your tags!
Awesome post, I'm loving your workspace Wednesday posts! I remember my Mom using watercolors like this and it brings back some great memories! Thanks for always inspiring me, I've been trying a little bit of watercoloring and love the trend of water coloring elements for cards!
Thanks so much for your inspiration today - it's so wonderful to see, and you certainly make watercolours sound easy... not as intimidating as I've always imagined them! My preferred colouring medium, when stamping, is watercolour pencils, but my technique isn't great (despite my practice!). I think I might try actual watercolours, as it's the blending that I can't get right and am frustrated with when using pencils - maybe with the freedom of a paintbrush, I will have more success (or do I mean luck?!!) Thanks again, Rx
How fun is all this-you are such an enabler! Your tags and cards are so pretty... It is snowing hard today where I am, so still in the mood to see the rest of your December Memories album. Please,please,please! Then I can move on to spring watercolor colors.
No wonder I could never find filled replacement pans...Thanks for all this information.
No wonder I could never find filled replacement pans...Thanks for all this information.
Thank you for this idea!! I hate lugging all those tubes out. This idea of having all the color s in one compact spot is fabulous. I just love your blog & find inspiration on every post! Thank you!
Thank you SO much! I had no idea about making your own pans! I have been searching for a traveling watercolor set and can not find anything I like, and felt silly getting more watercolors when I have tons of tubes! This is the PERFECT solution! Super excited to get started on this!!!! THANK YOU!!!
Post a Comment