I'm back today with Week 23 of my Project Life. This week I am a guest at
collection of products on my pages.
from Basic Grey will also be using the same products for a week of her Project Life. I was thrilled when Mel asked me to use the Clippings line because I love it! It's graphic, a little vintage, has a great neutral color way and there are oodles of fun embellishments within this line.
For me, the best way to use a large variety of products from one line is to grab some blank Project Life
journaling cards and just start creating my own handmade inserts. I made way more than I needed for one week but the leftovers will go into my stash to use for future PL pages. Please zoom in to get a better look. I used just a few tags from my shop + a few punches and the rest of the items are from the Clippings collection.

Here are a few of my favorites. I love the "guest check"
journaling card from the
Snippets pad, the notebook fringe stickers from the
12 x 12 Element Stickers sheet and the great patterns in this line. When it becomes available again I'll be purchasing the
Garland also. It's die cut and stitched together, ready to use. Cool idea.

From the Snippets booklet I also made these 4 x 6 inserts. I used just a few items from my stash to fancy them up a bit. I also embellished a paper sack to hold some
journaling or tags.

And now for my finished pages. Here's how I use my handmade
journaling cards: once my photos are trimmed and placed on top of the page protectors I go through my
journaling cards and just start selecting ones that seem to fit in terms of color, photo placement, etc. A layout comes together really quickly this way, especially since I had 4 x 6 inserts made ahead of time also.

Here's my left page.

Here's the right page.

This dated 4 x 6 inserts was embellished with a photo collage, a snippet of
Washi tape, an arrow sticker from
BG, Studio Calico number stamps and letters from the
12 x 12 Alphabet Stickers.

Our pets. Another 4 x 6
BG insert simply embellished with typed label stickers + a date stamp.

Curious Charlie discovered what the pool is all about. I loved the layered look of this 4 x 6
BG insert. I added a small tag with circle heart sticker +
Washi + my typed labels. I love the layered look without all the bulk.

Eric had a nice day of early morning fishing at the big pond. I typed on a trimmed down
BG journaling card from the Snippets pad.

Here's another 4 x 6 insert straight from the Snippets booklet. I added more of the
BG letter stickers, some tickets from the Elements Stickers and then hand cute a few long strips from a piece of patterned paper from the
6 x 6 paper pad. Here's the
12 x 12 version of this paper so you can see the fun strips.

Moving on to the 3 x 4 inserts. On the left insert I used one of my handmade
journaling cards along with more stickers from the 12 x 12 Alphabet Stickers + some arrow stamps from the
coordinating Hero Arts set. Here's the
other stamp set, also great for PL. On the right I have a Week in Review card. All I had to do was add in a little of my own handwriting.

More inserts embellished with my typed labels + some stickers from the12 x 12 Elements Sheet.

Here I used a some hand cutting and a little help from punches to embellish my 3 x 4 inserts. I loved using the small
BG letter stickers with stitching over the top. They make fun mini titles for my 3 x 4 cards.

On the left is a page from the Snippets booklet. I only added my photo and typed
journaling. So easy. On the right I used a tab punch + a border sticker from the 12 x 12 Elements Stickers.

I also created an 8.5 x 11 traditional scrapbook page insert for this week also. It was a big day when the girls got their new iPhone 4's. I printed a giant 8 x 8 size
Instagram print which filled most of the page. For my inserts I like to print larger photos so that an event is really highlighted and made special.

For what was left to embellish, I used 2 of my handmade
journaling cards. I just tucked them under my photo after adding some stamping and typed
journaling. The fun yellow tag is a
Printed Hang Tag from my shop. On the left I embellished a sticker from the
12 x 12 ElementStickers sheet with some small
BG sticker letters and tucked it under the photo also. I added a border sticker along the top of the photo and as a finishing touch I added the memories tab from the sticker sheet to the outside of my page protector.

And that's it for this week of Project Life. I'd like to thank Melanie for asking me to be a guest this week for Basic Grey. This was definitely a fun week for me to work on and the Clippings product line is so awesome.
Edited: Forgot to add that I'll be doing a prize drawing for the Basic Grey 6 x6 Paper pad, the alphabet stickers, the elements stickers the snippets booklet and one of the stamp sets. Wowzers! Just leave a comment on this post telling me a little bit about how your Project Life is going. I will close the comments on Sunday evening at 8pm Central Time.
Hey, you might want to check out Studio Calico's lineup of products in their kits & shop items this week. I see that there are lots of Basic Grey goodness there this month, including that sold out garland I've been seeking. Happy shopping. :)

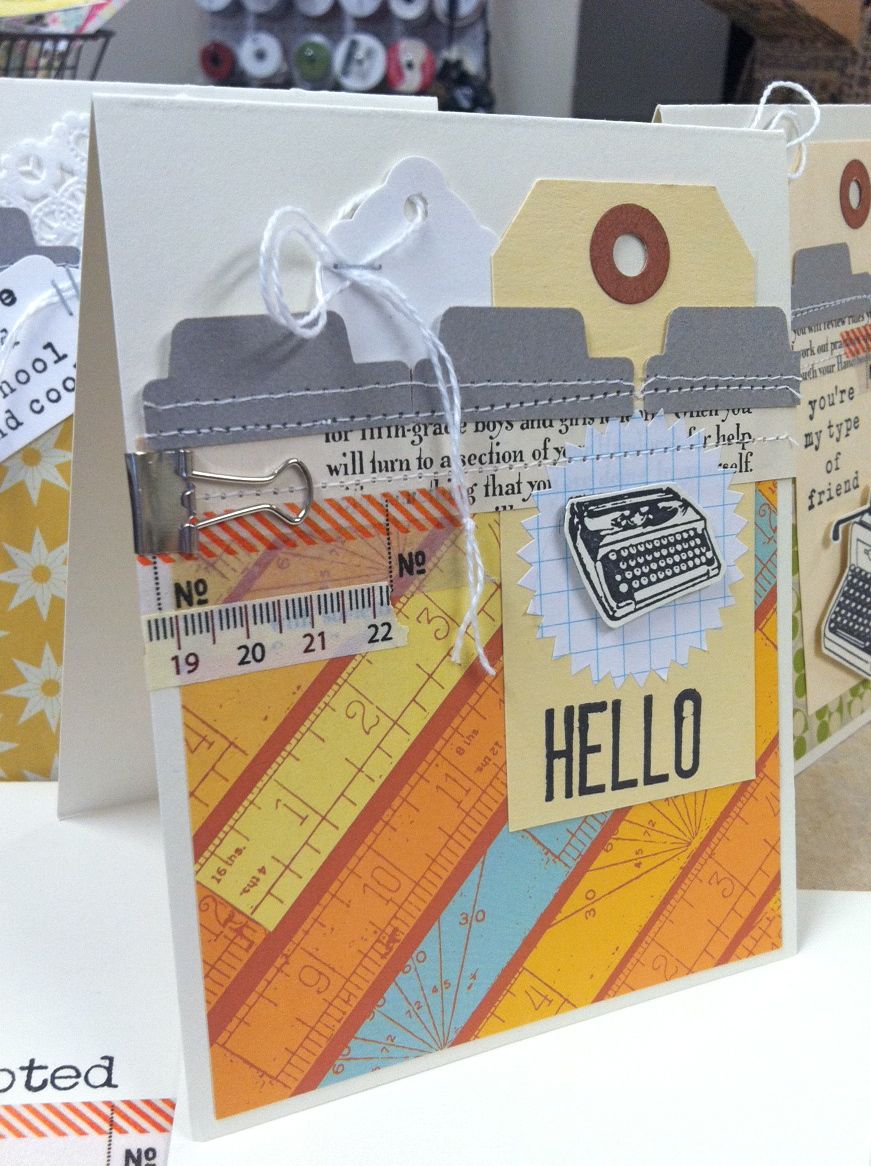
 Each time I sat down to create with this kit, I picked a few items and then just went to work. Here I have some notecards with envelopes and stamped pieces. The large stamped bulls eye image is Studio Calico's Plano Stamp. The small circles were stamped with Studio Calico's Take Note.
 And here's my set of 3 finished notecards. These came together very quickly so they'd make great teacher gifts because they're easy to mass produce.
  On the tops of my cards I adhered some stamped Grid Paper Labels. I'm loving these labels lately for sentiments. They take ink well and if you want several of the same sentiments you can just stamp them all down the row while the labels are still on the backing sheet. I've also got Notebook Paper Labels. I layered 2 strips of Washi tape over the label.
  On the bottom of the cards I popped my focal pieces right in the centers of the stamped circles. Realllly love the graphic feel of this. And perfect for the fellas too.
  On my Kraft envelopes I used more Washi tape + more stamped Grid Paper Labels. Any of my labels work great on envelopes because they are very flat and stick well.
  For packaging I used a Waxed Paper Sack from the kit. I know I will be keeping a big personal stash of these sacks for teacher treats and packaging up small sets of cards. They have a gusset so you can easily fit in a set of cards with envelopes.
  I used yet another Grid Paper Label with some of the Kraft stars from the kit adhered. I sealed up my sack with more Washi tape then added a Metal Rim Tag from the kit with a big loop of black/white baker's twine. Eeek, I just love having a stash of teacher goodies ready to go.
  Okay, I have ONE more post this week with the last of my teacher themed projects made from the kit. Come back and visit. :)